Lamp Two, 2025
(carbon fiber twill, epoxy, fishing wire, steel bolt/washer/nut, light socket/cord, theater lighting gels)
A motivation for coming back to the states was that I had an urge to create a lamp using the composites skills learned at SailGP. I drew the lamp up on Rhinoceros first.
The initial iteration was to stretch a fabric shade over the light bulb at the top of the spine. Two wires, perpendicular to one another, would begin at one side of the shade, travel under the base, go back up and attach to the opposite side of the shade. An LED would be used as the bulb as not to burn the fabric.
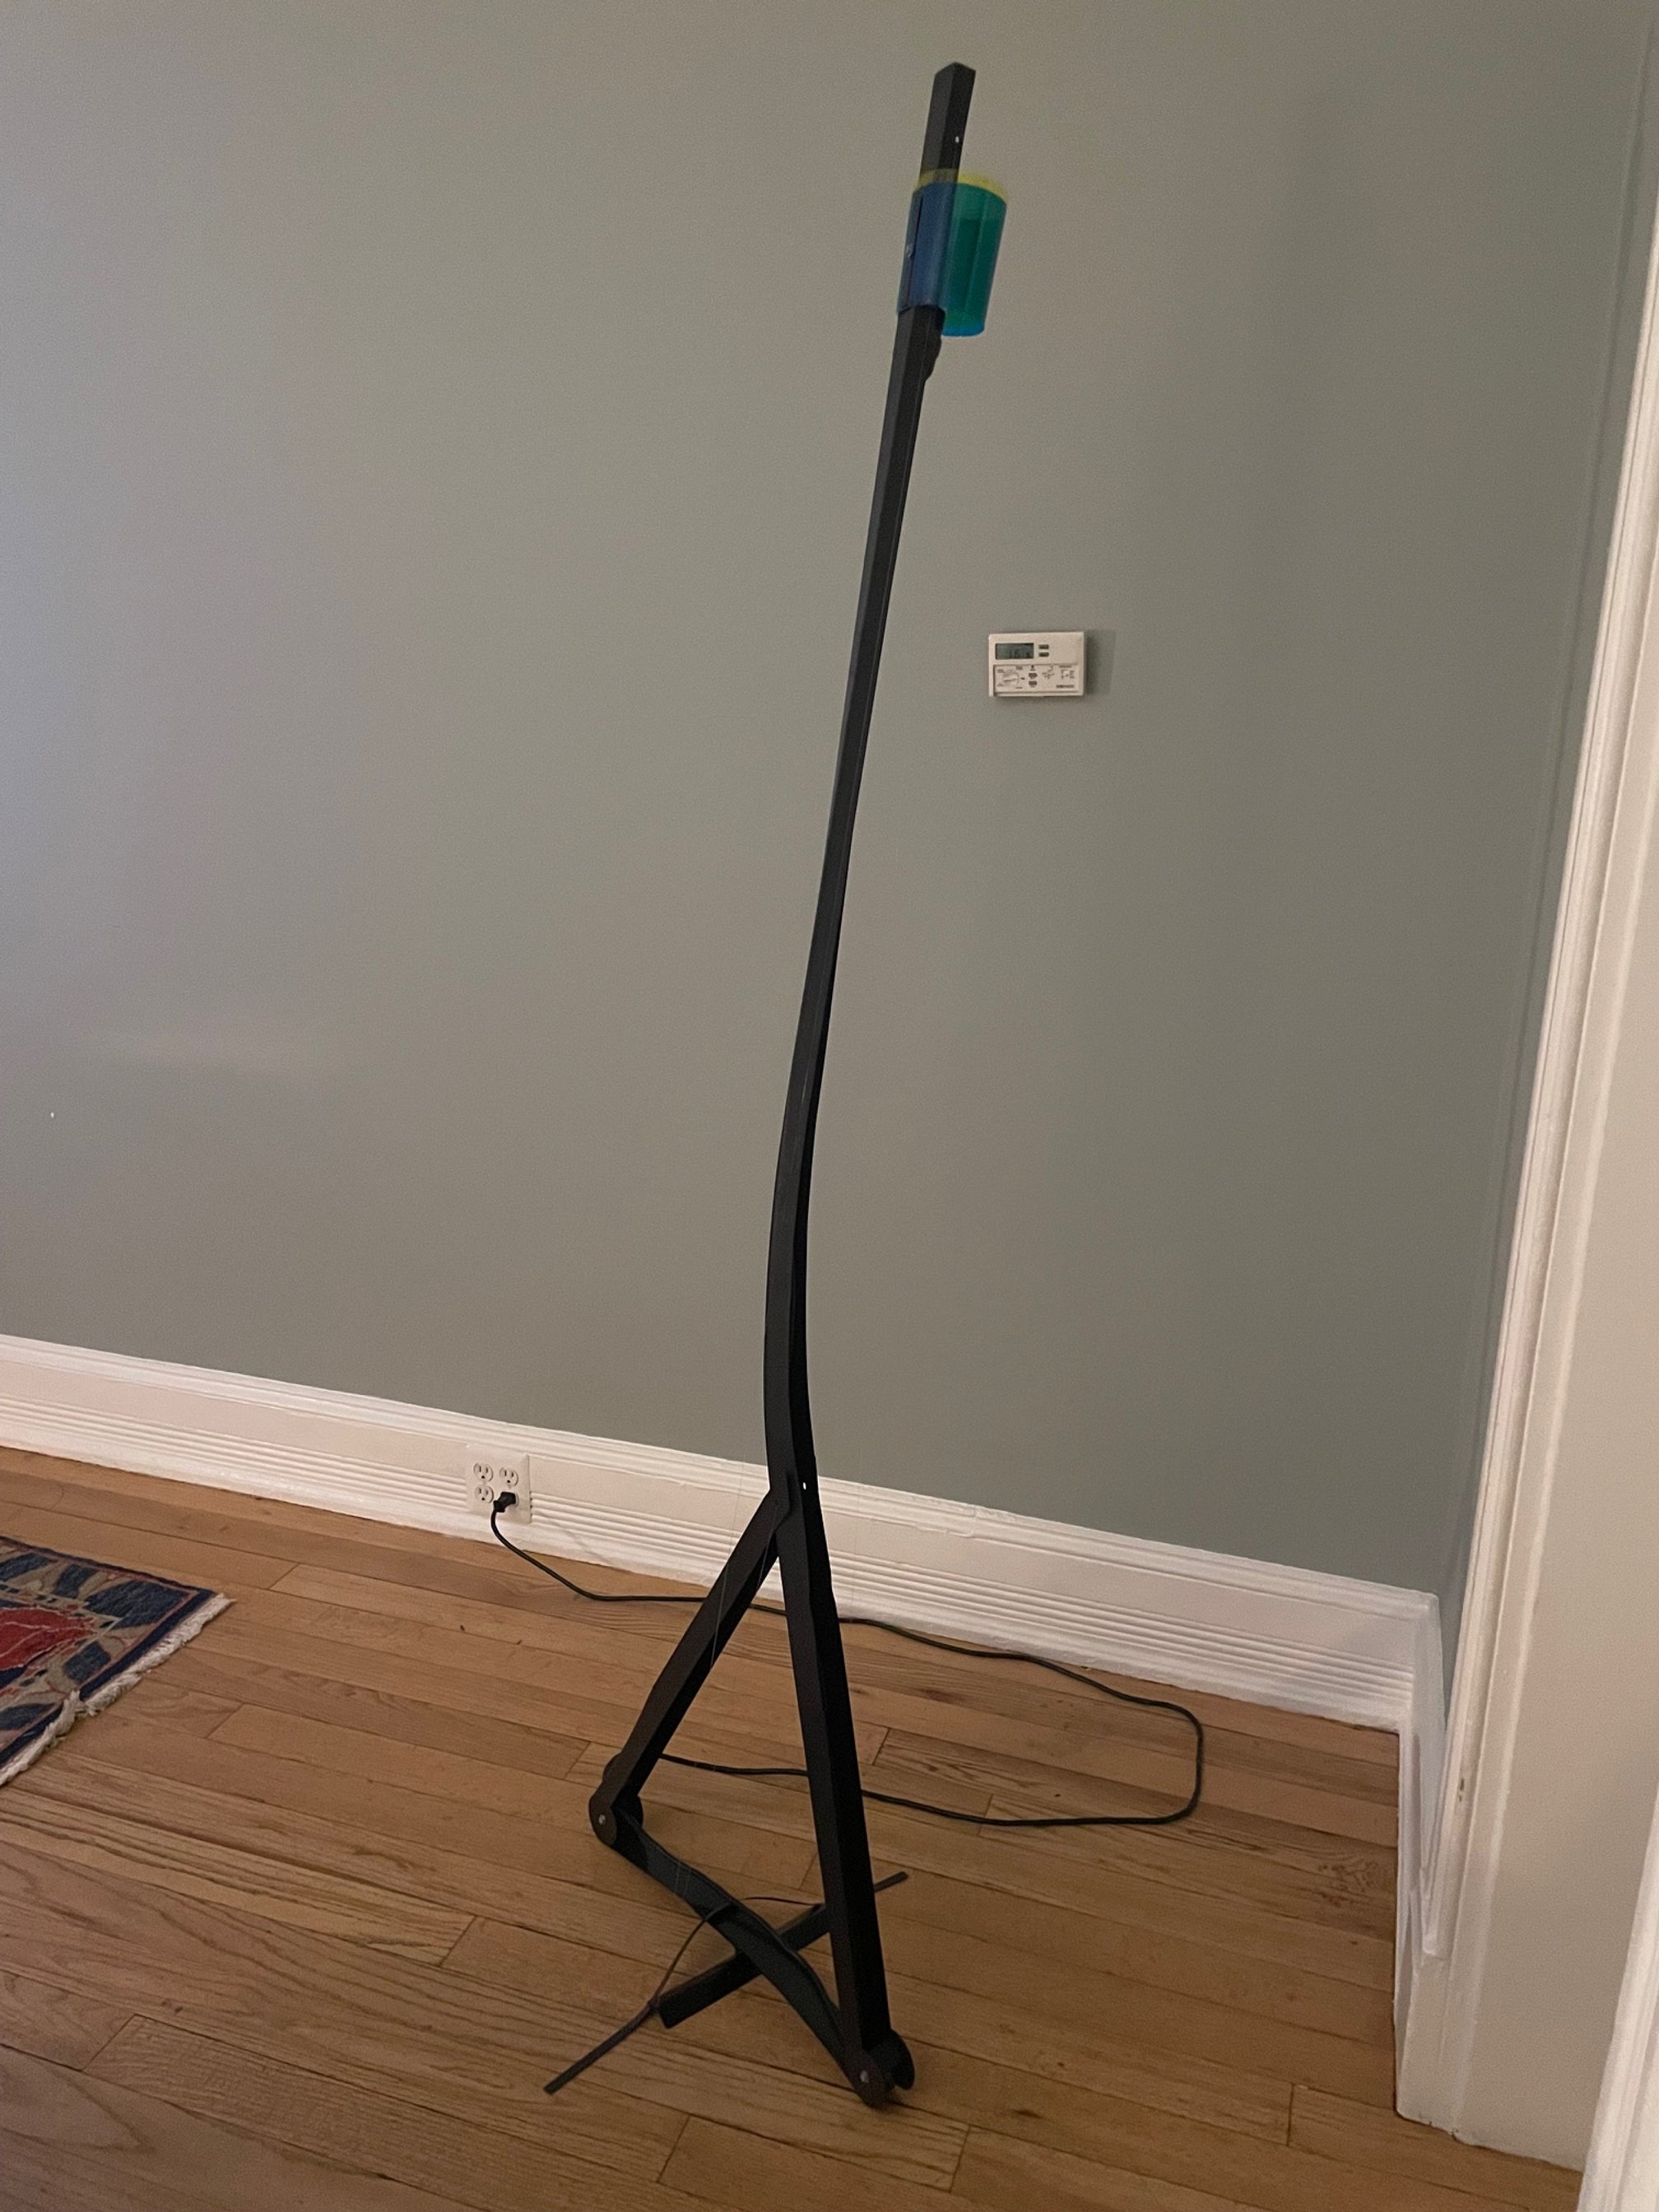
By only creating a 0/90-degree laminate, the material will be very flexible diagonally. This means that the lamp spine will not buckle under linear compression by the wires, but it will easily twist laterally, creating the illusion that the lamp is looking off to the side somewhere. Furthermore, with composites one may tailor the part’s thickness: I ended up laying two layers for the spine as a base and then I added another layer on the lower third of it, and another layer still on the lower sixth. This tailored the spine to be strong at the base and light, flowing at the top. The buckling is also exacerbated now, under Euler’s law.
Below is a CAD rendering and some linework.


Below, clockwise: sanding the mold (to within a couple millimeters of the CAD dimensions), putting Teflon over the mold so that the part releases, vacuum bagging* miscillaneous parts, vacuum bagging the main spine, assembling the spine and back leg.
Much of the time was spent sanding and grinding, the molds and then the carbon parts, down to the exact dimensions.
*Vacuum bagging is a composites build technique. The mold is created, covered in Teflon tape. Cut the carbon to size from a template and wet it with epoxy. Then a series of specialty disposable fabrics go over the composite. Finally, the bag goes on and is sucked down with a vacuum pump.


In the end, the original shade design did not work. The hat/shade slipped off the smooth bulb easily. If the wires were tensioned to such a degree that the shade stayed put, it would be pulled far down, then warped from being a hat into a sort of droopy hood. I also ditched the big arms because they distracted from the elegance of the spine.
Below top row: an iteration of the shade, a piece of A4 paper fastened to a carbon frame. If the paper gets crumpled, or if the user would like a different color or texture of paper, they can easily switch out the paper as they please.
This simple, cheap A4 paper shade is in keeping with the general philosophy of the design. The idea that the user may dissasemble, modify, and repair the lamp. Ultimately this is what composites represent - tailorable and moldable.
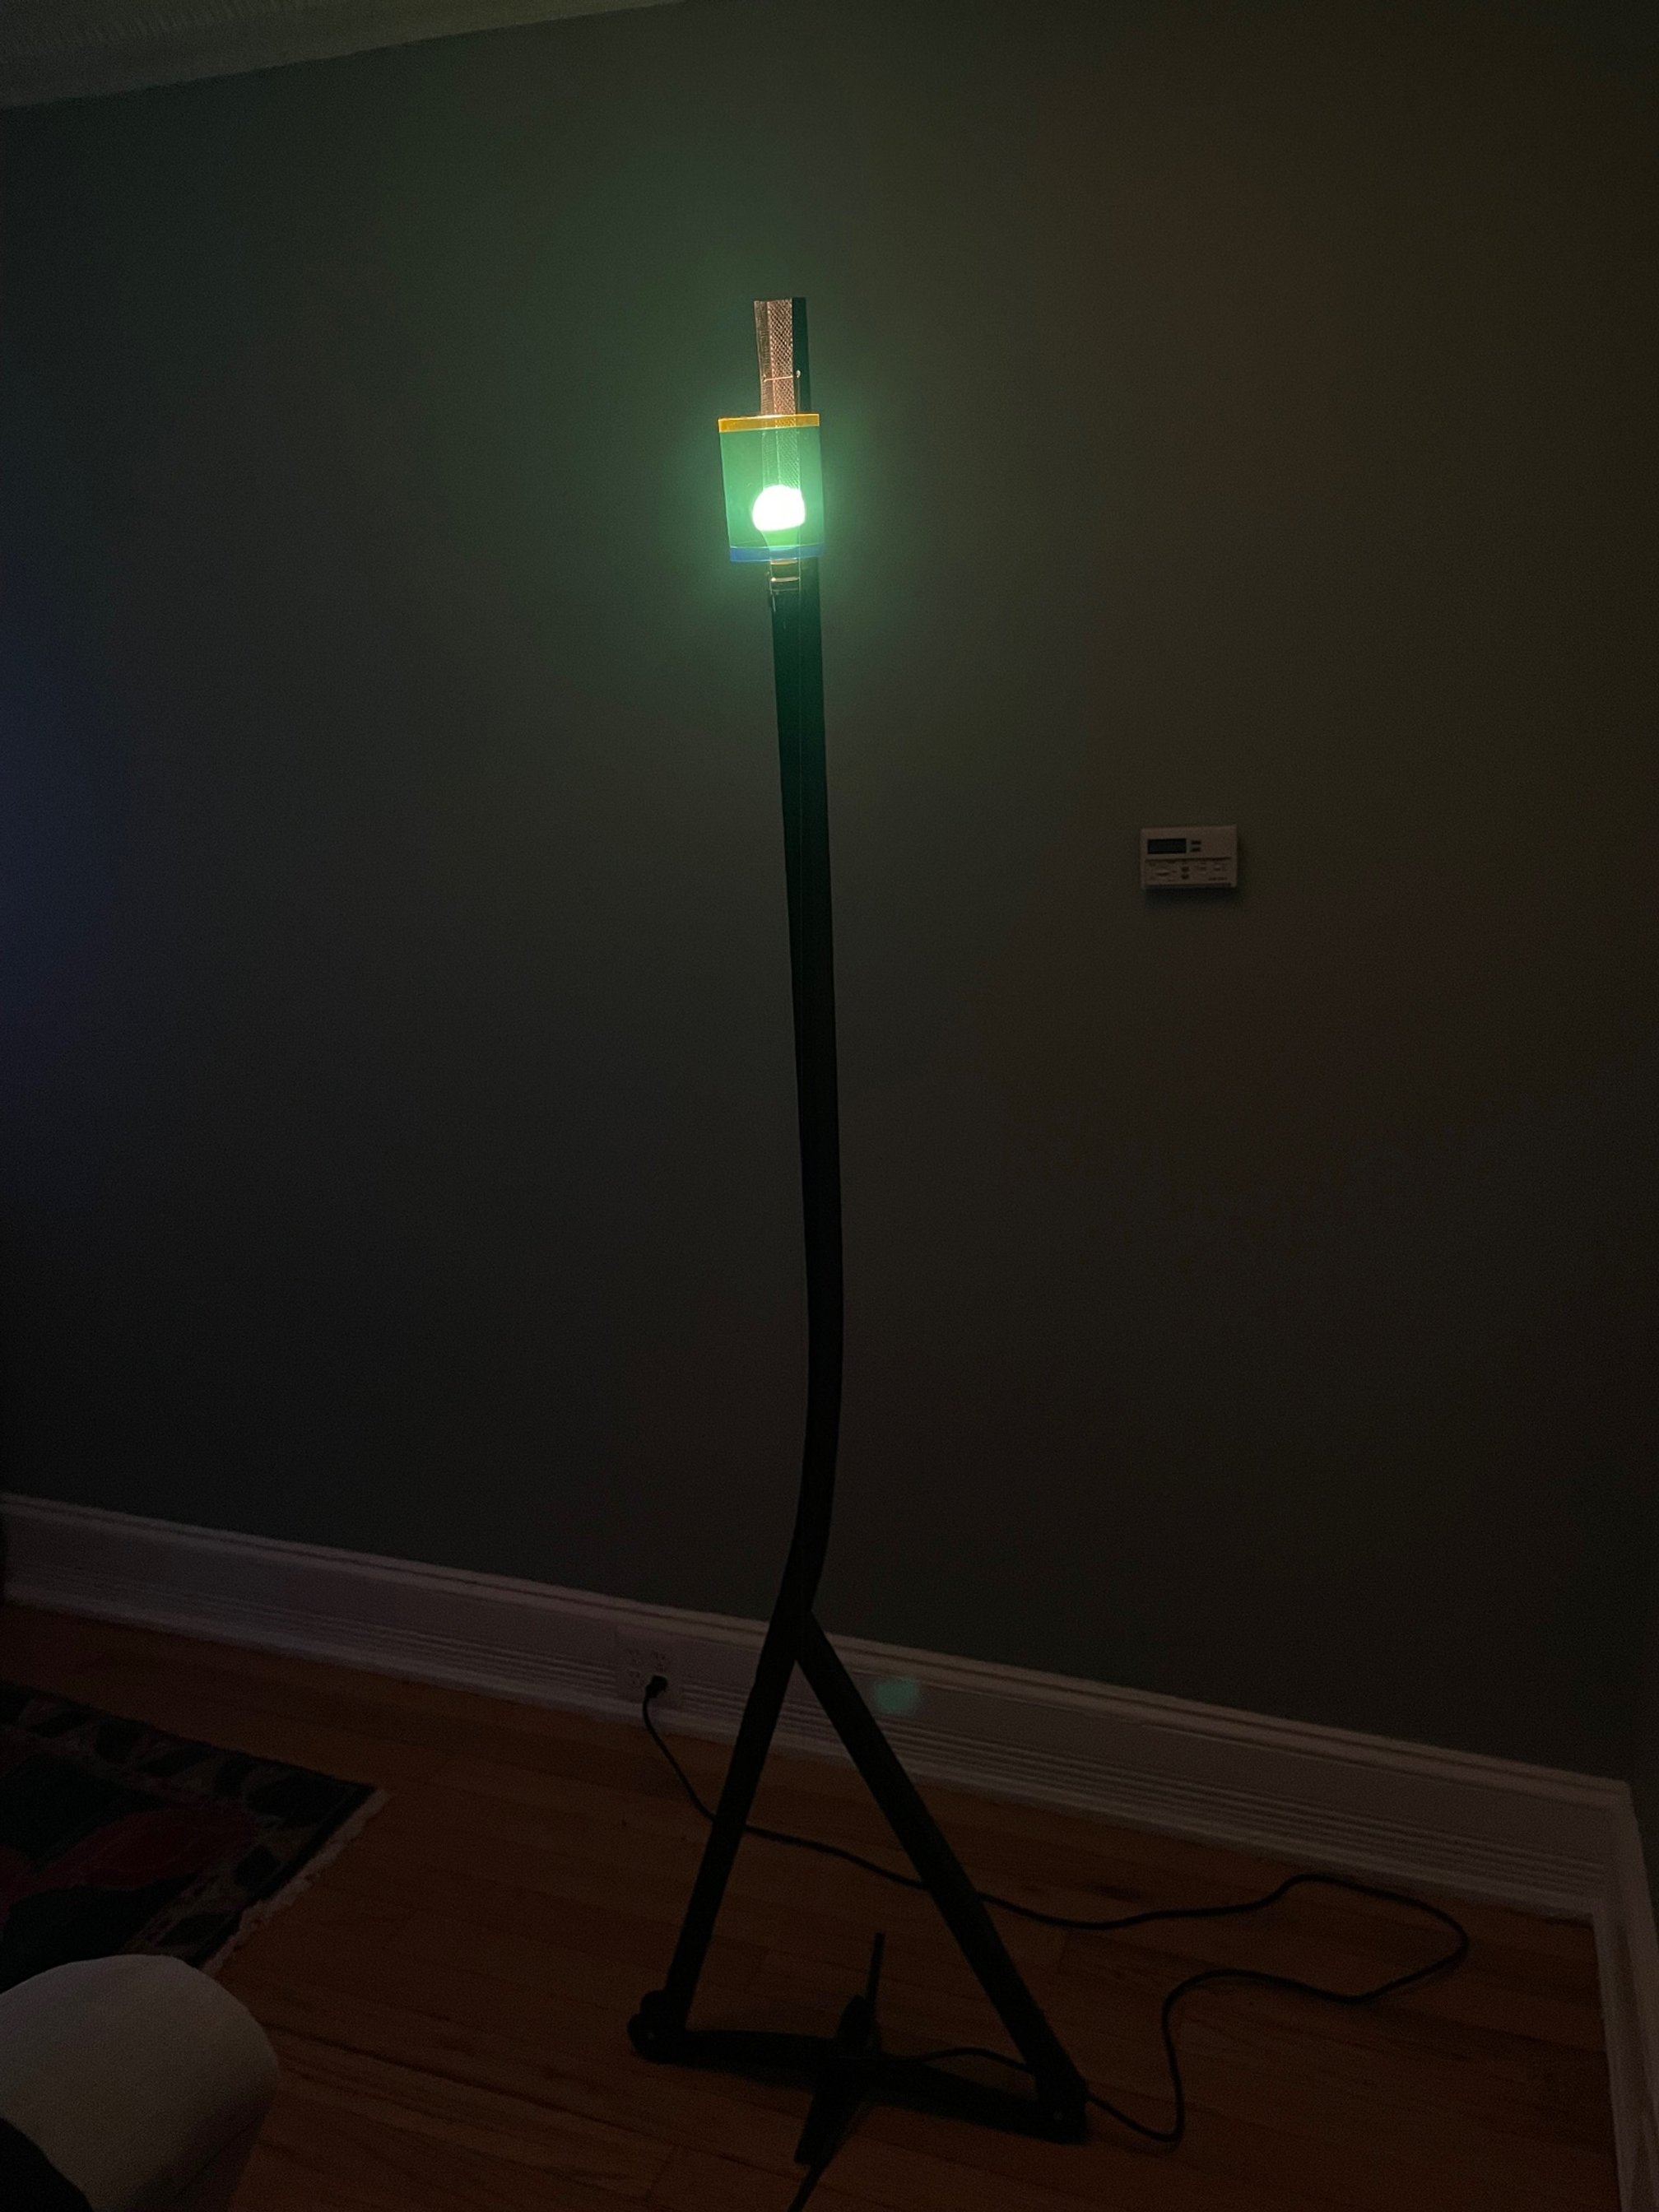
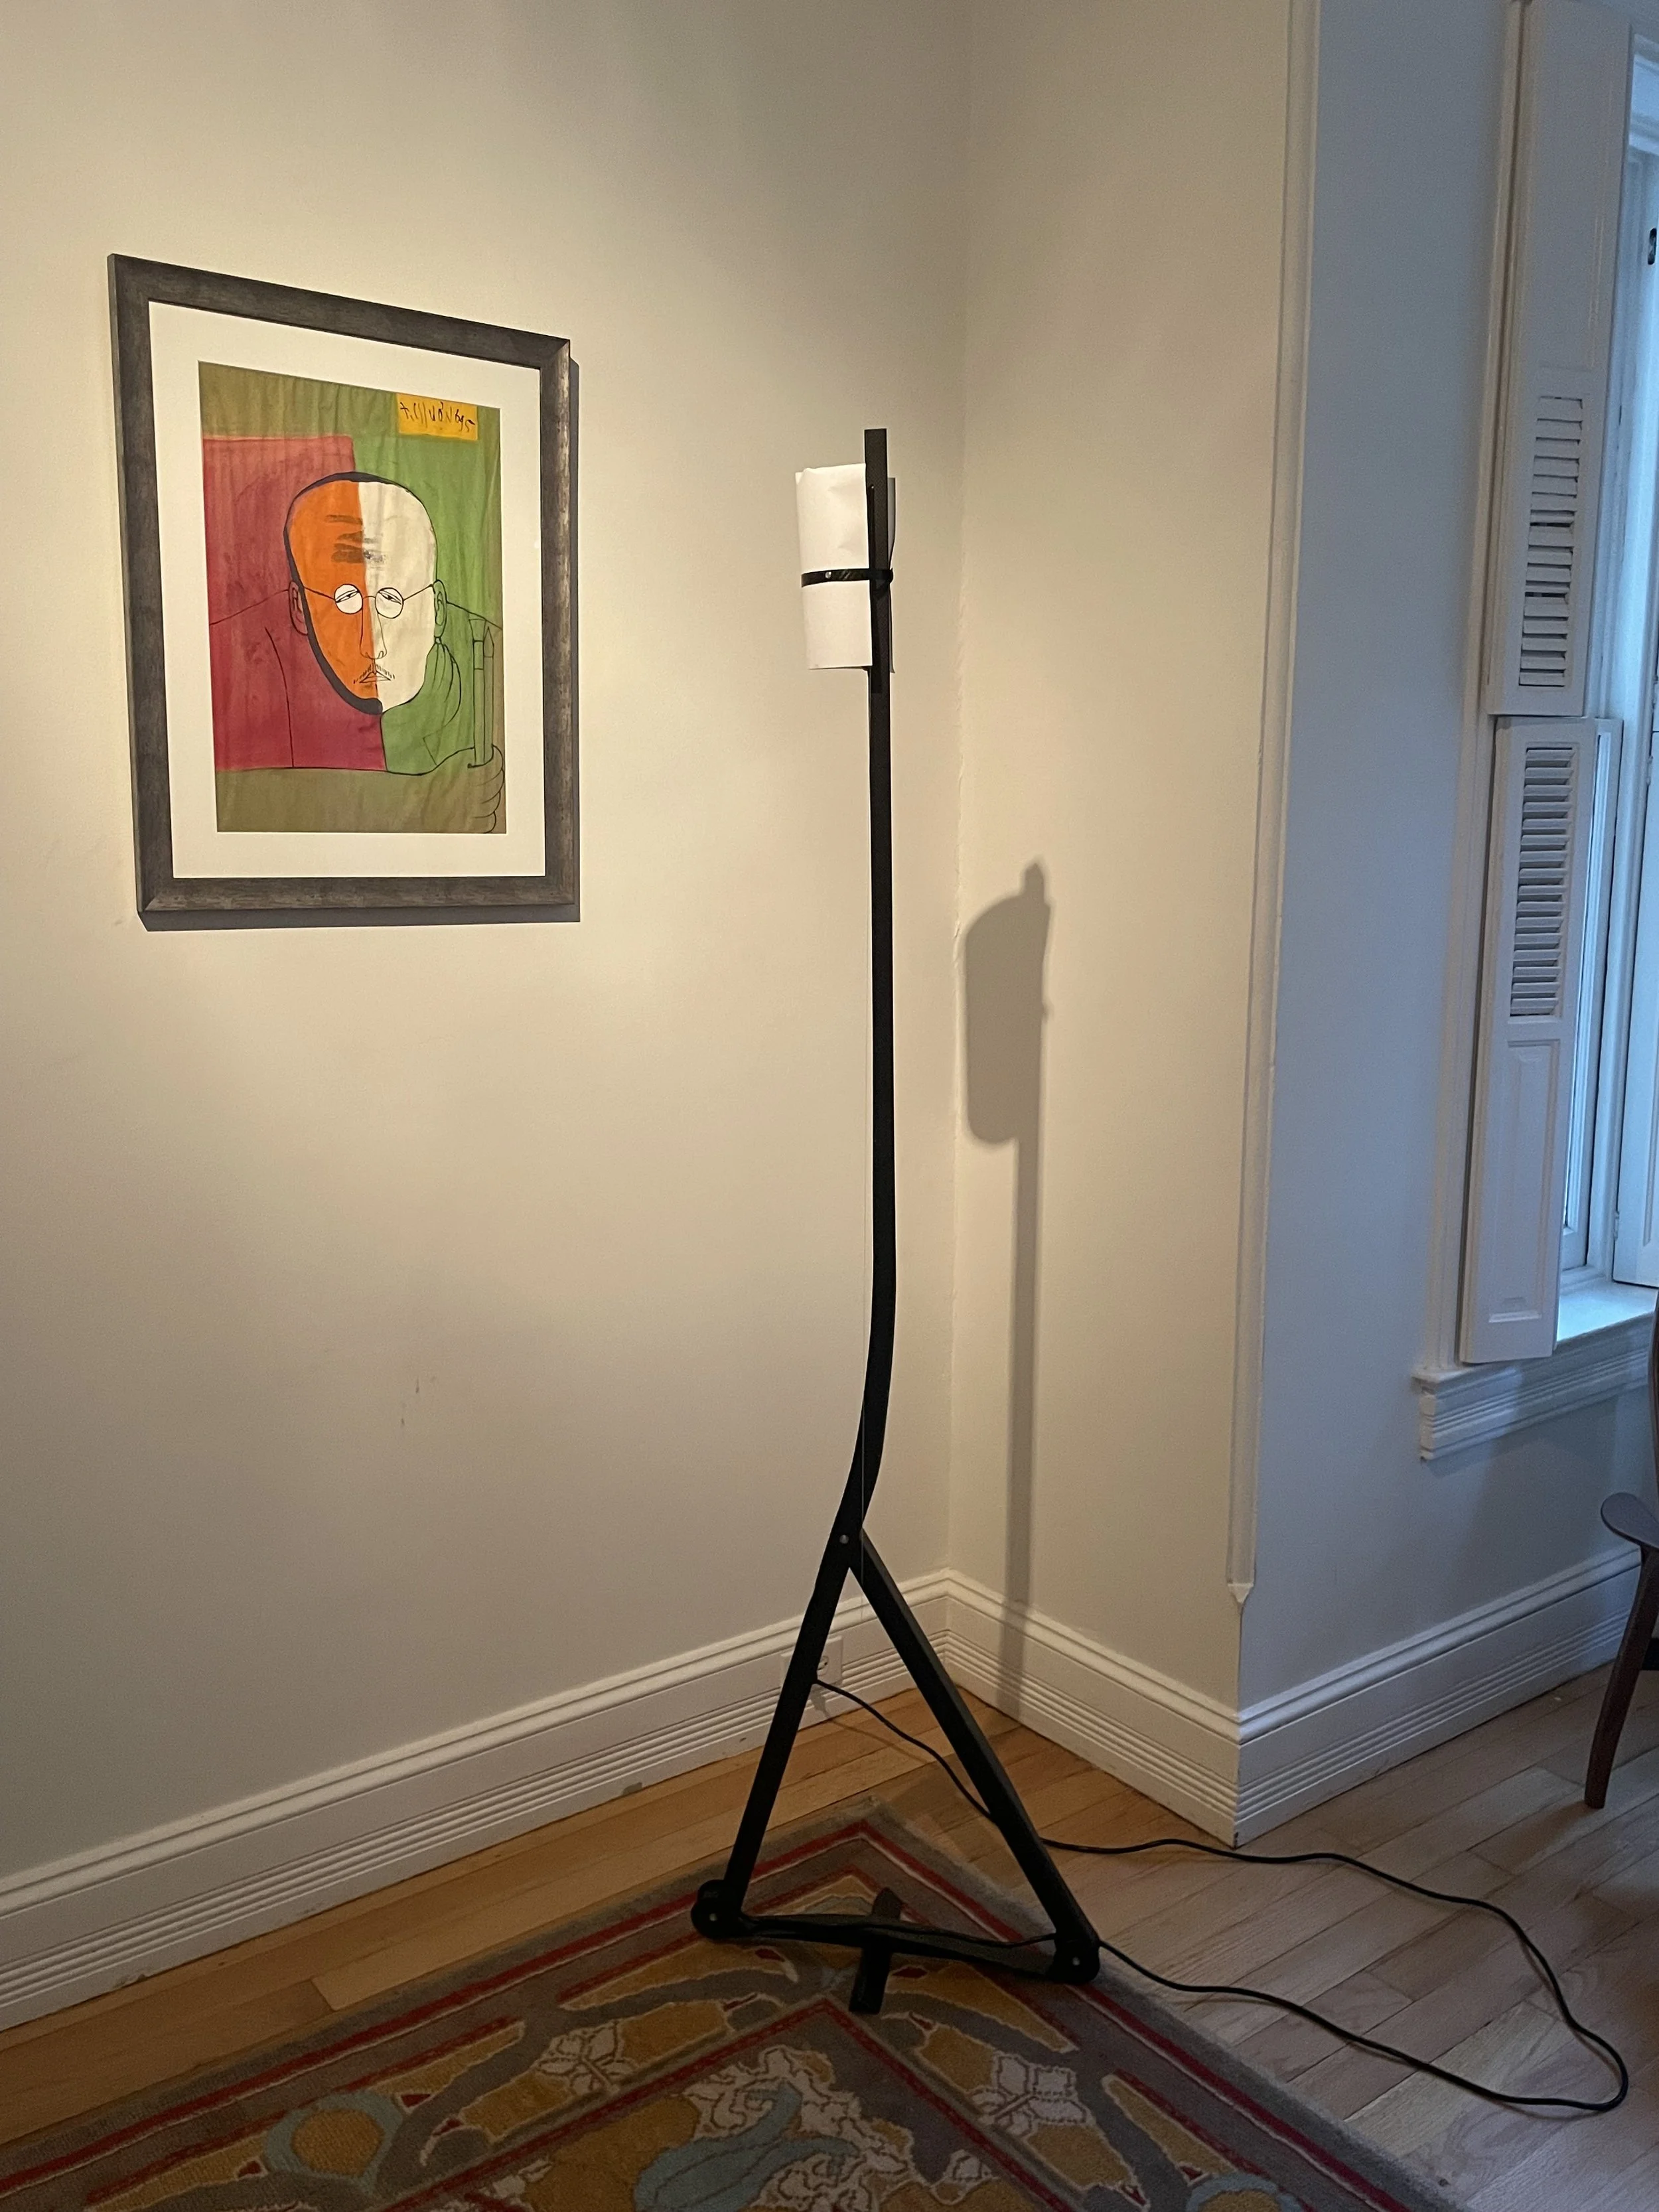
Bottom row: Without the shade. These photos show the spine leaning and twisting, peering at something.


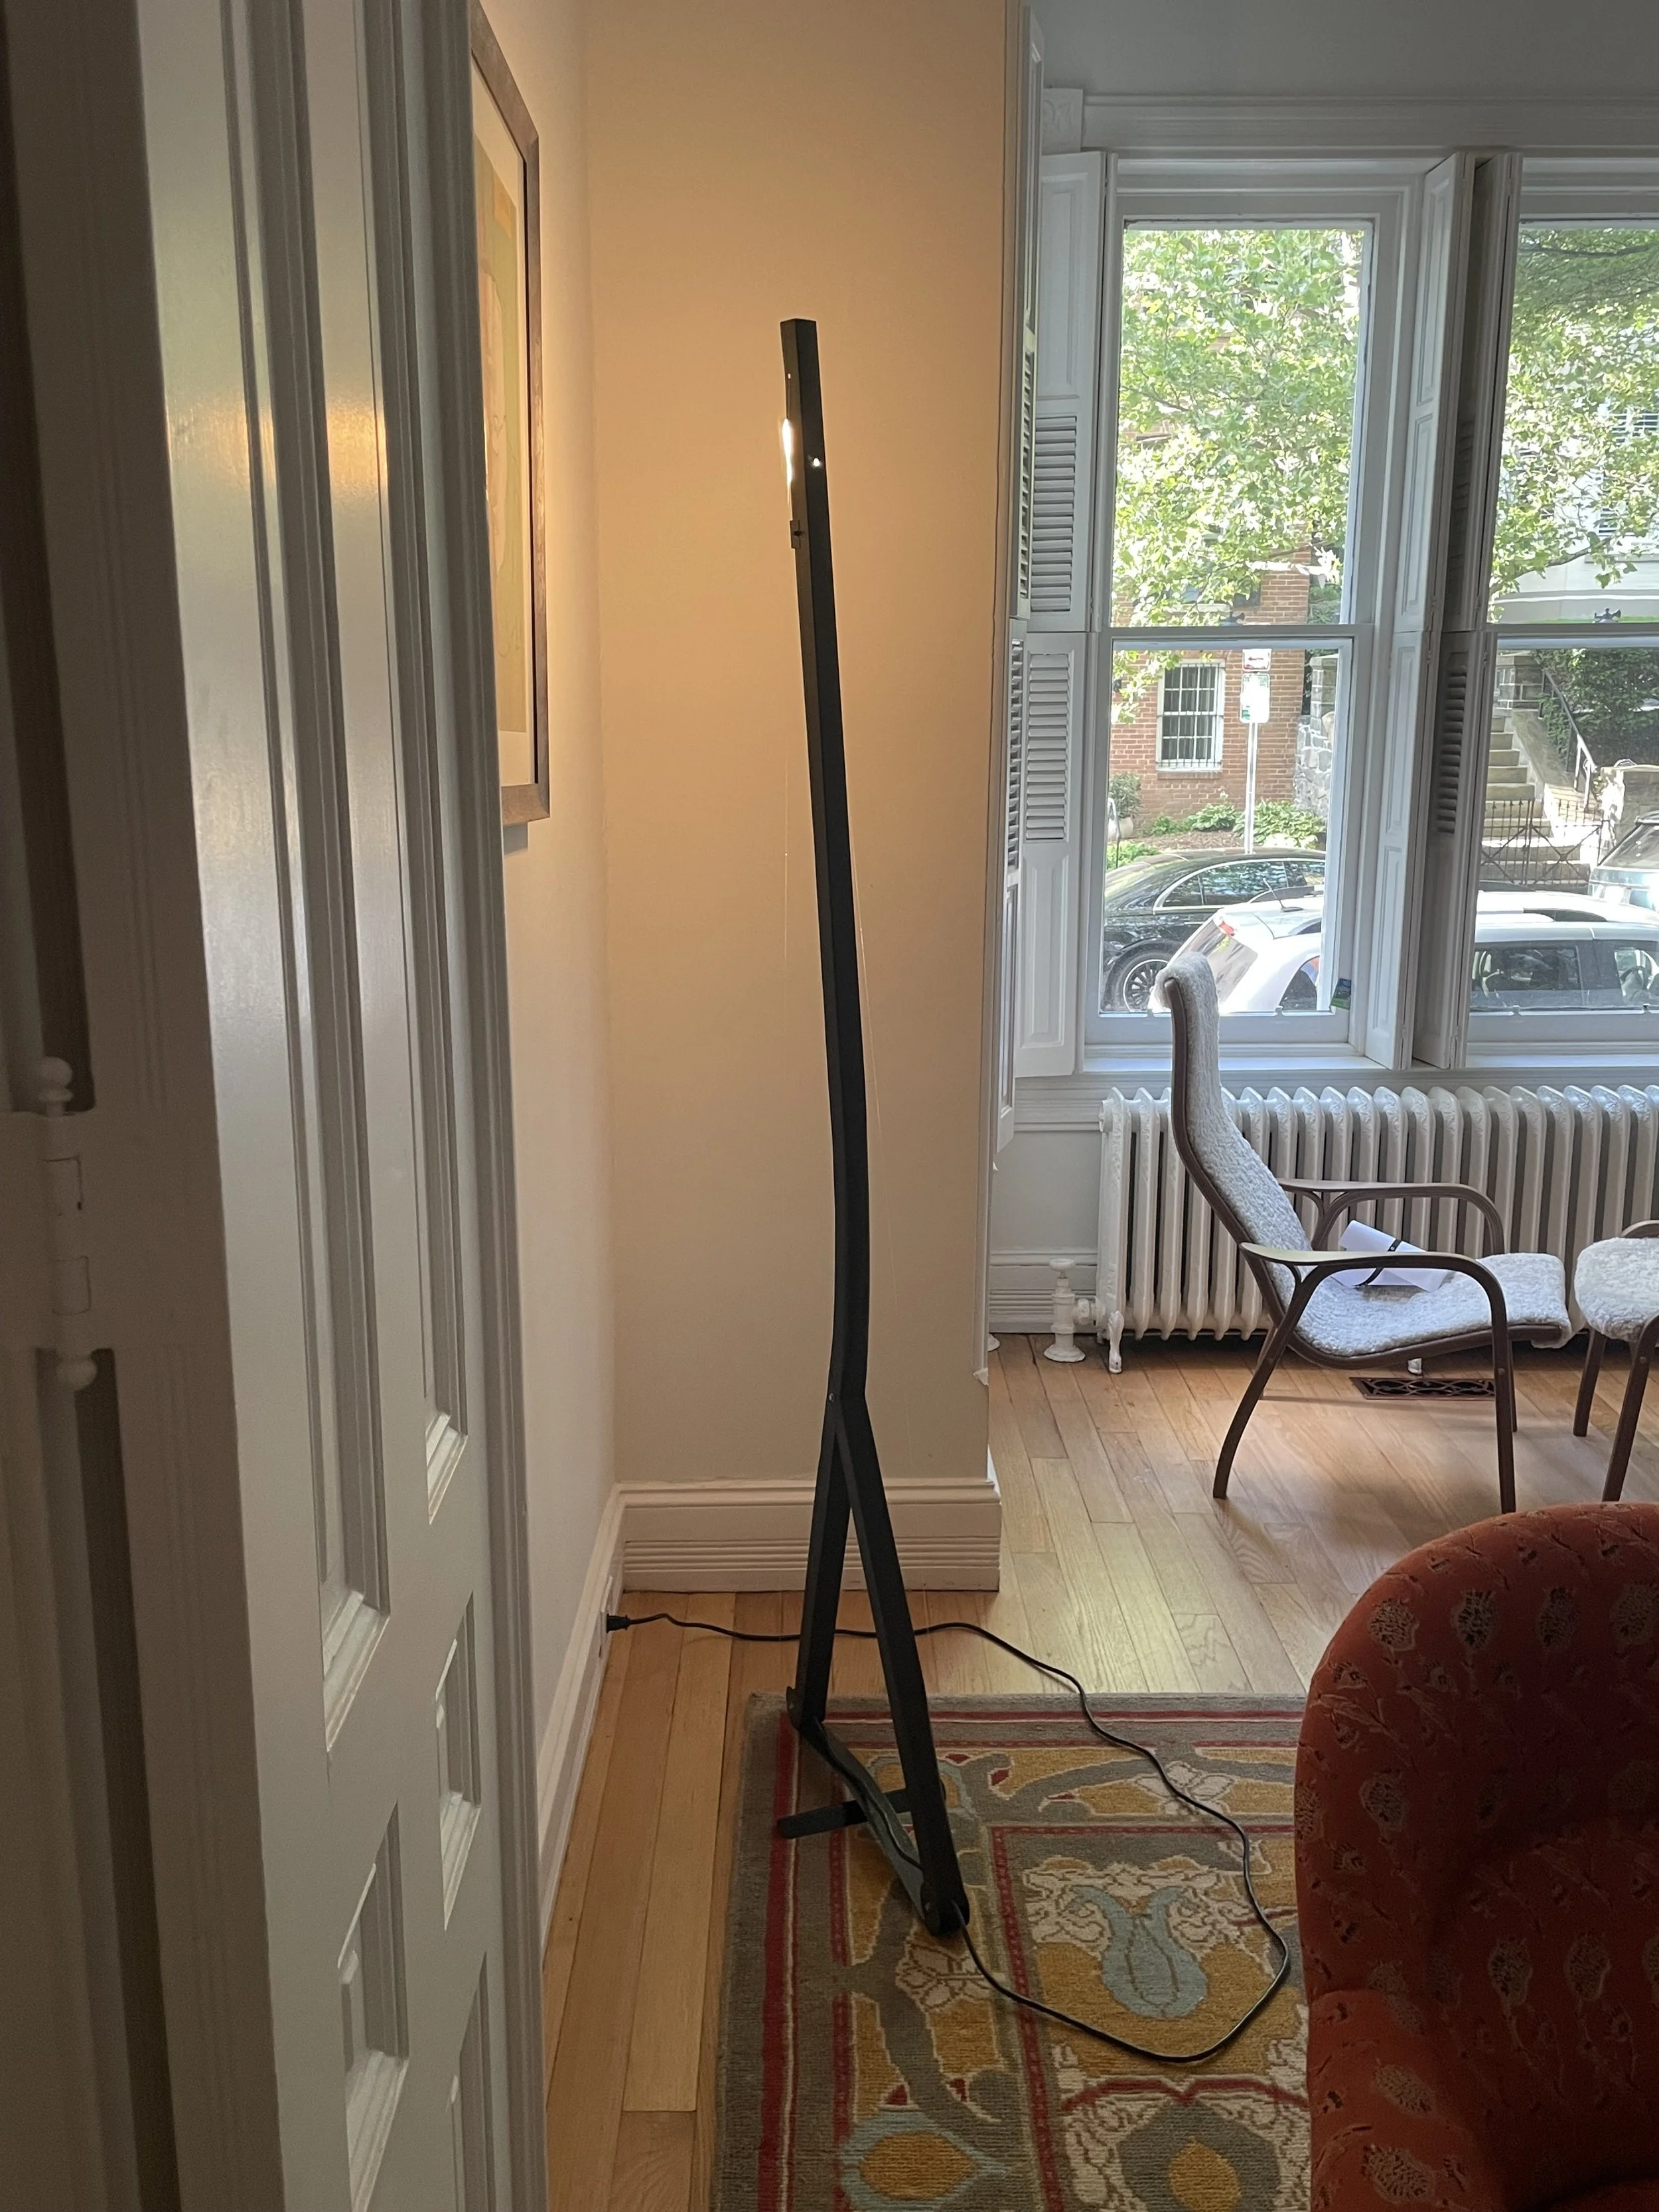
Below first two photos: these show the spine unloaded and loaded, under compression. The material is wavering under the load, the buckling of the girder is visible.
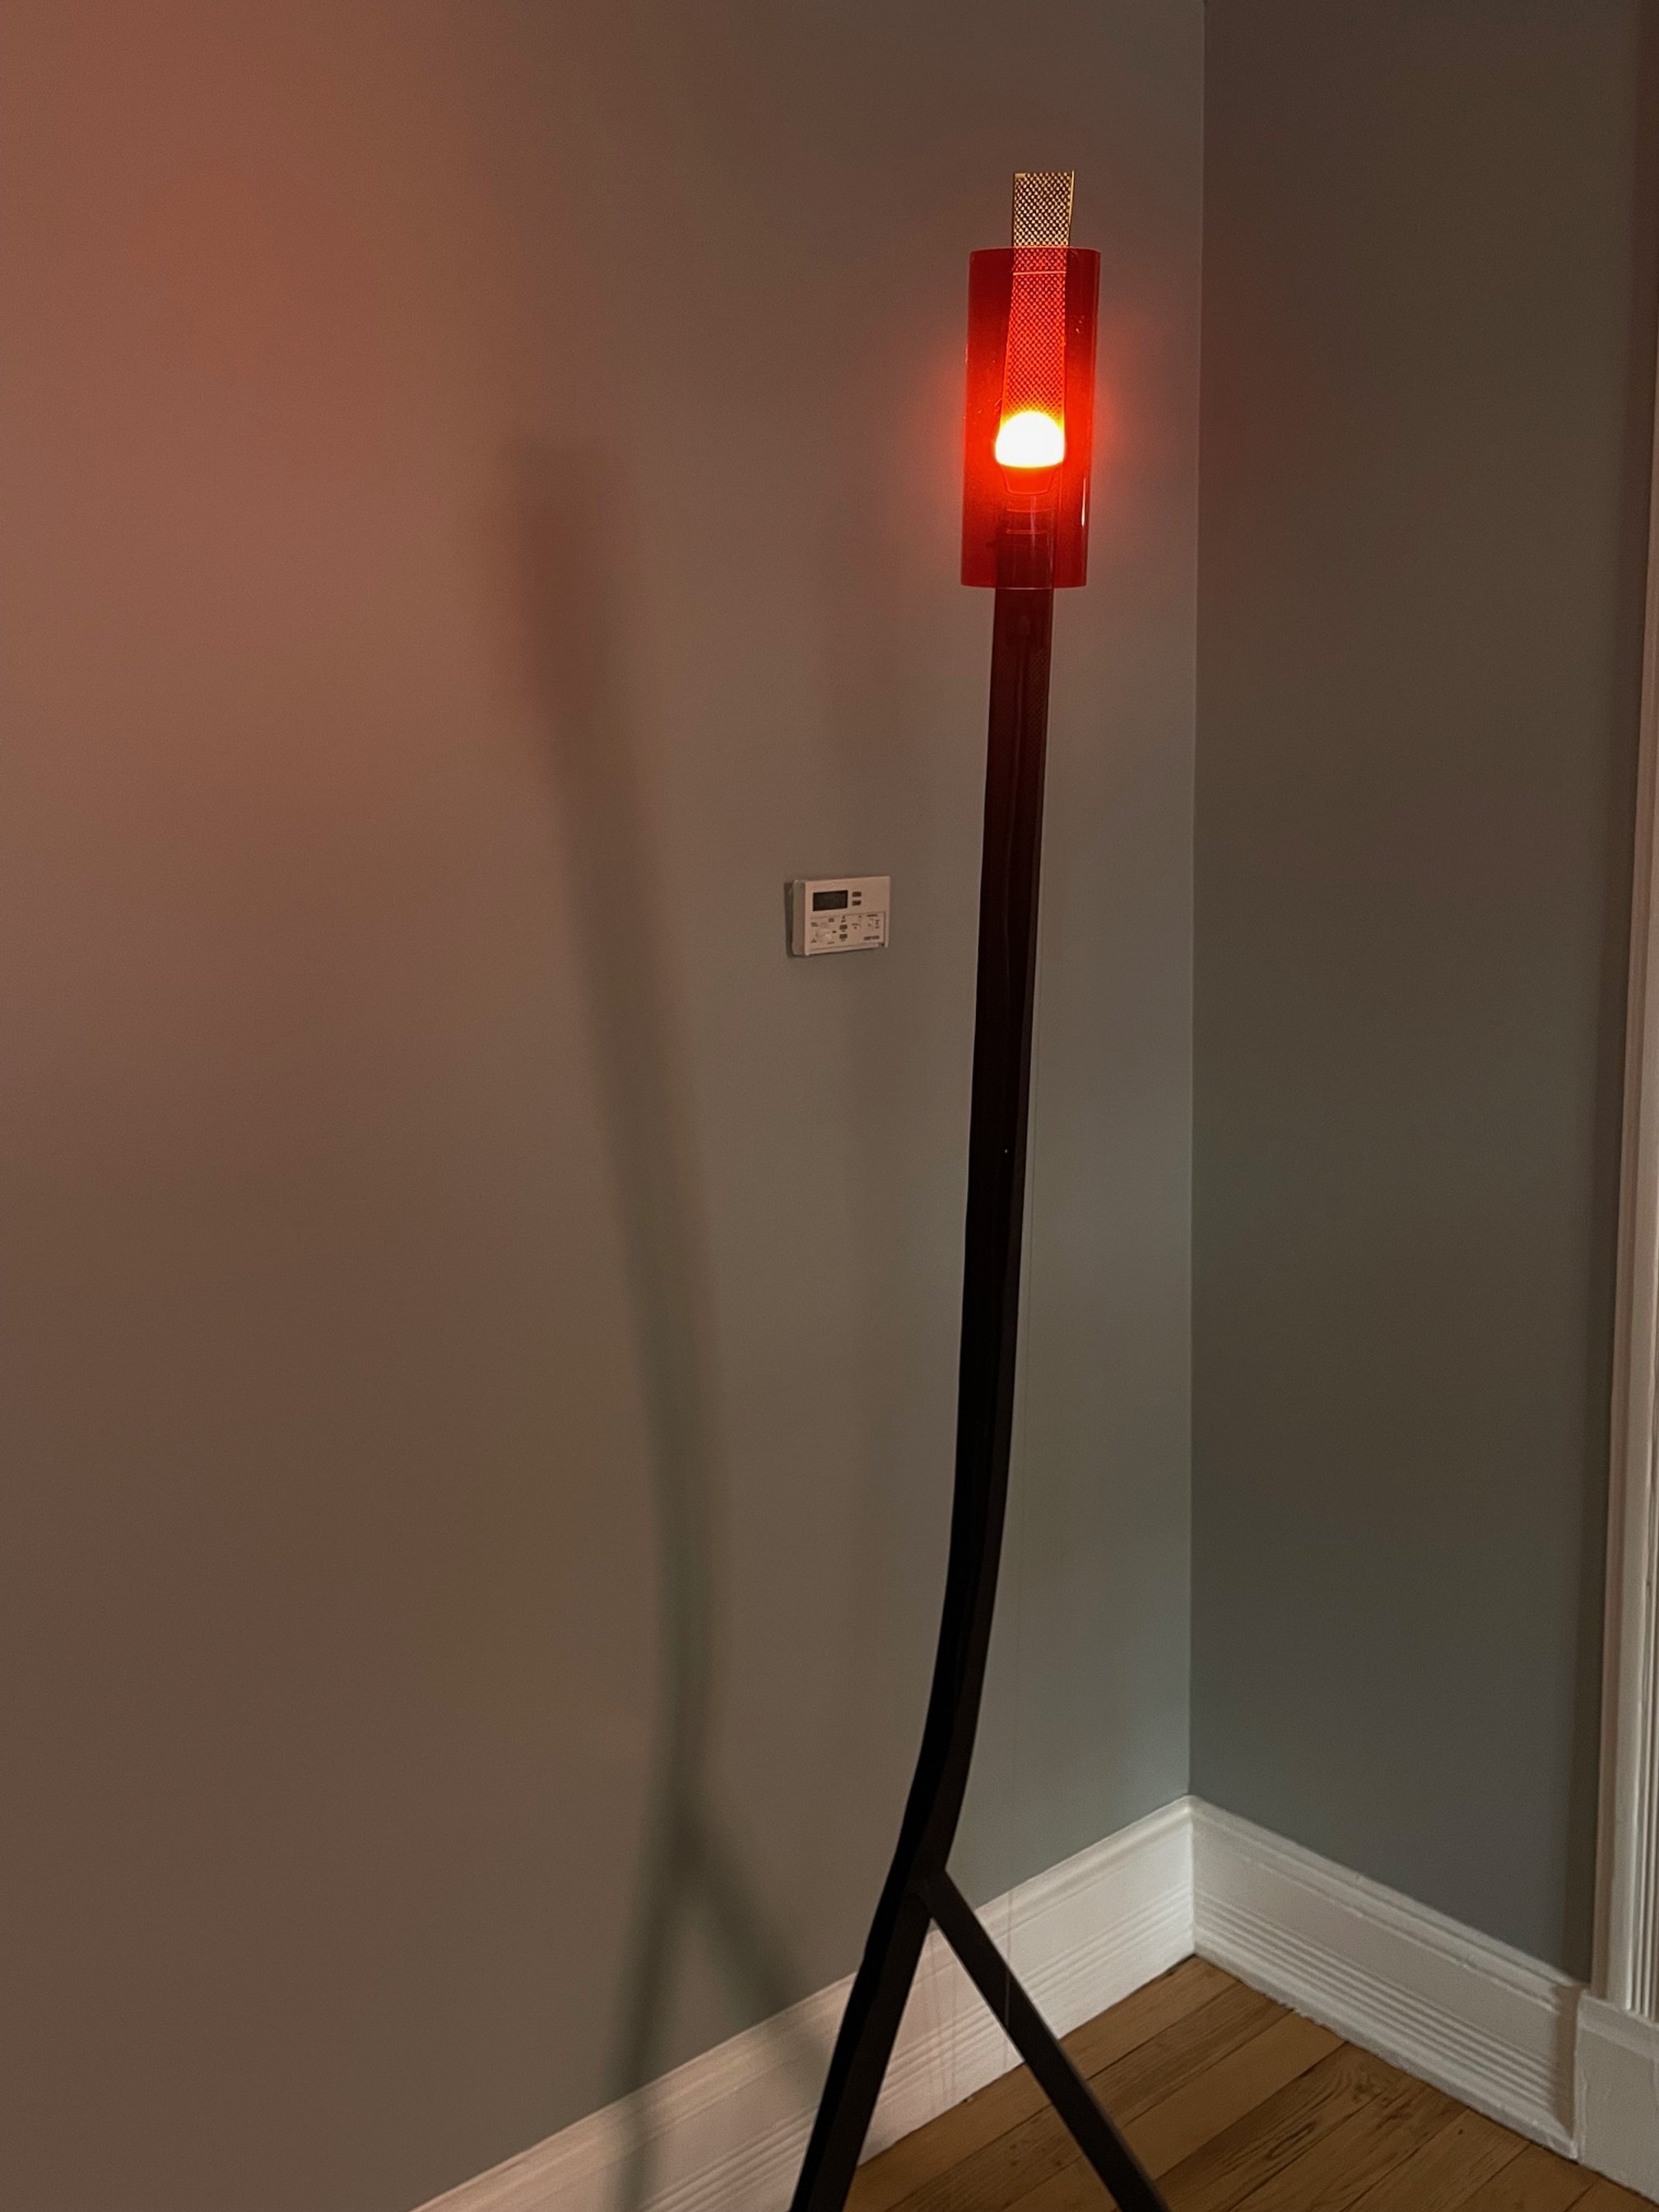
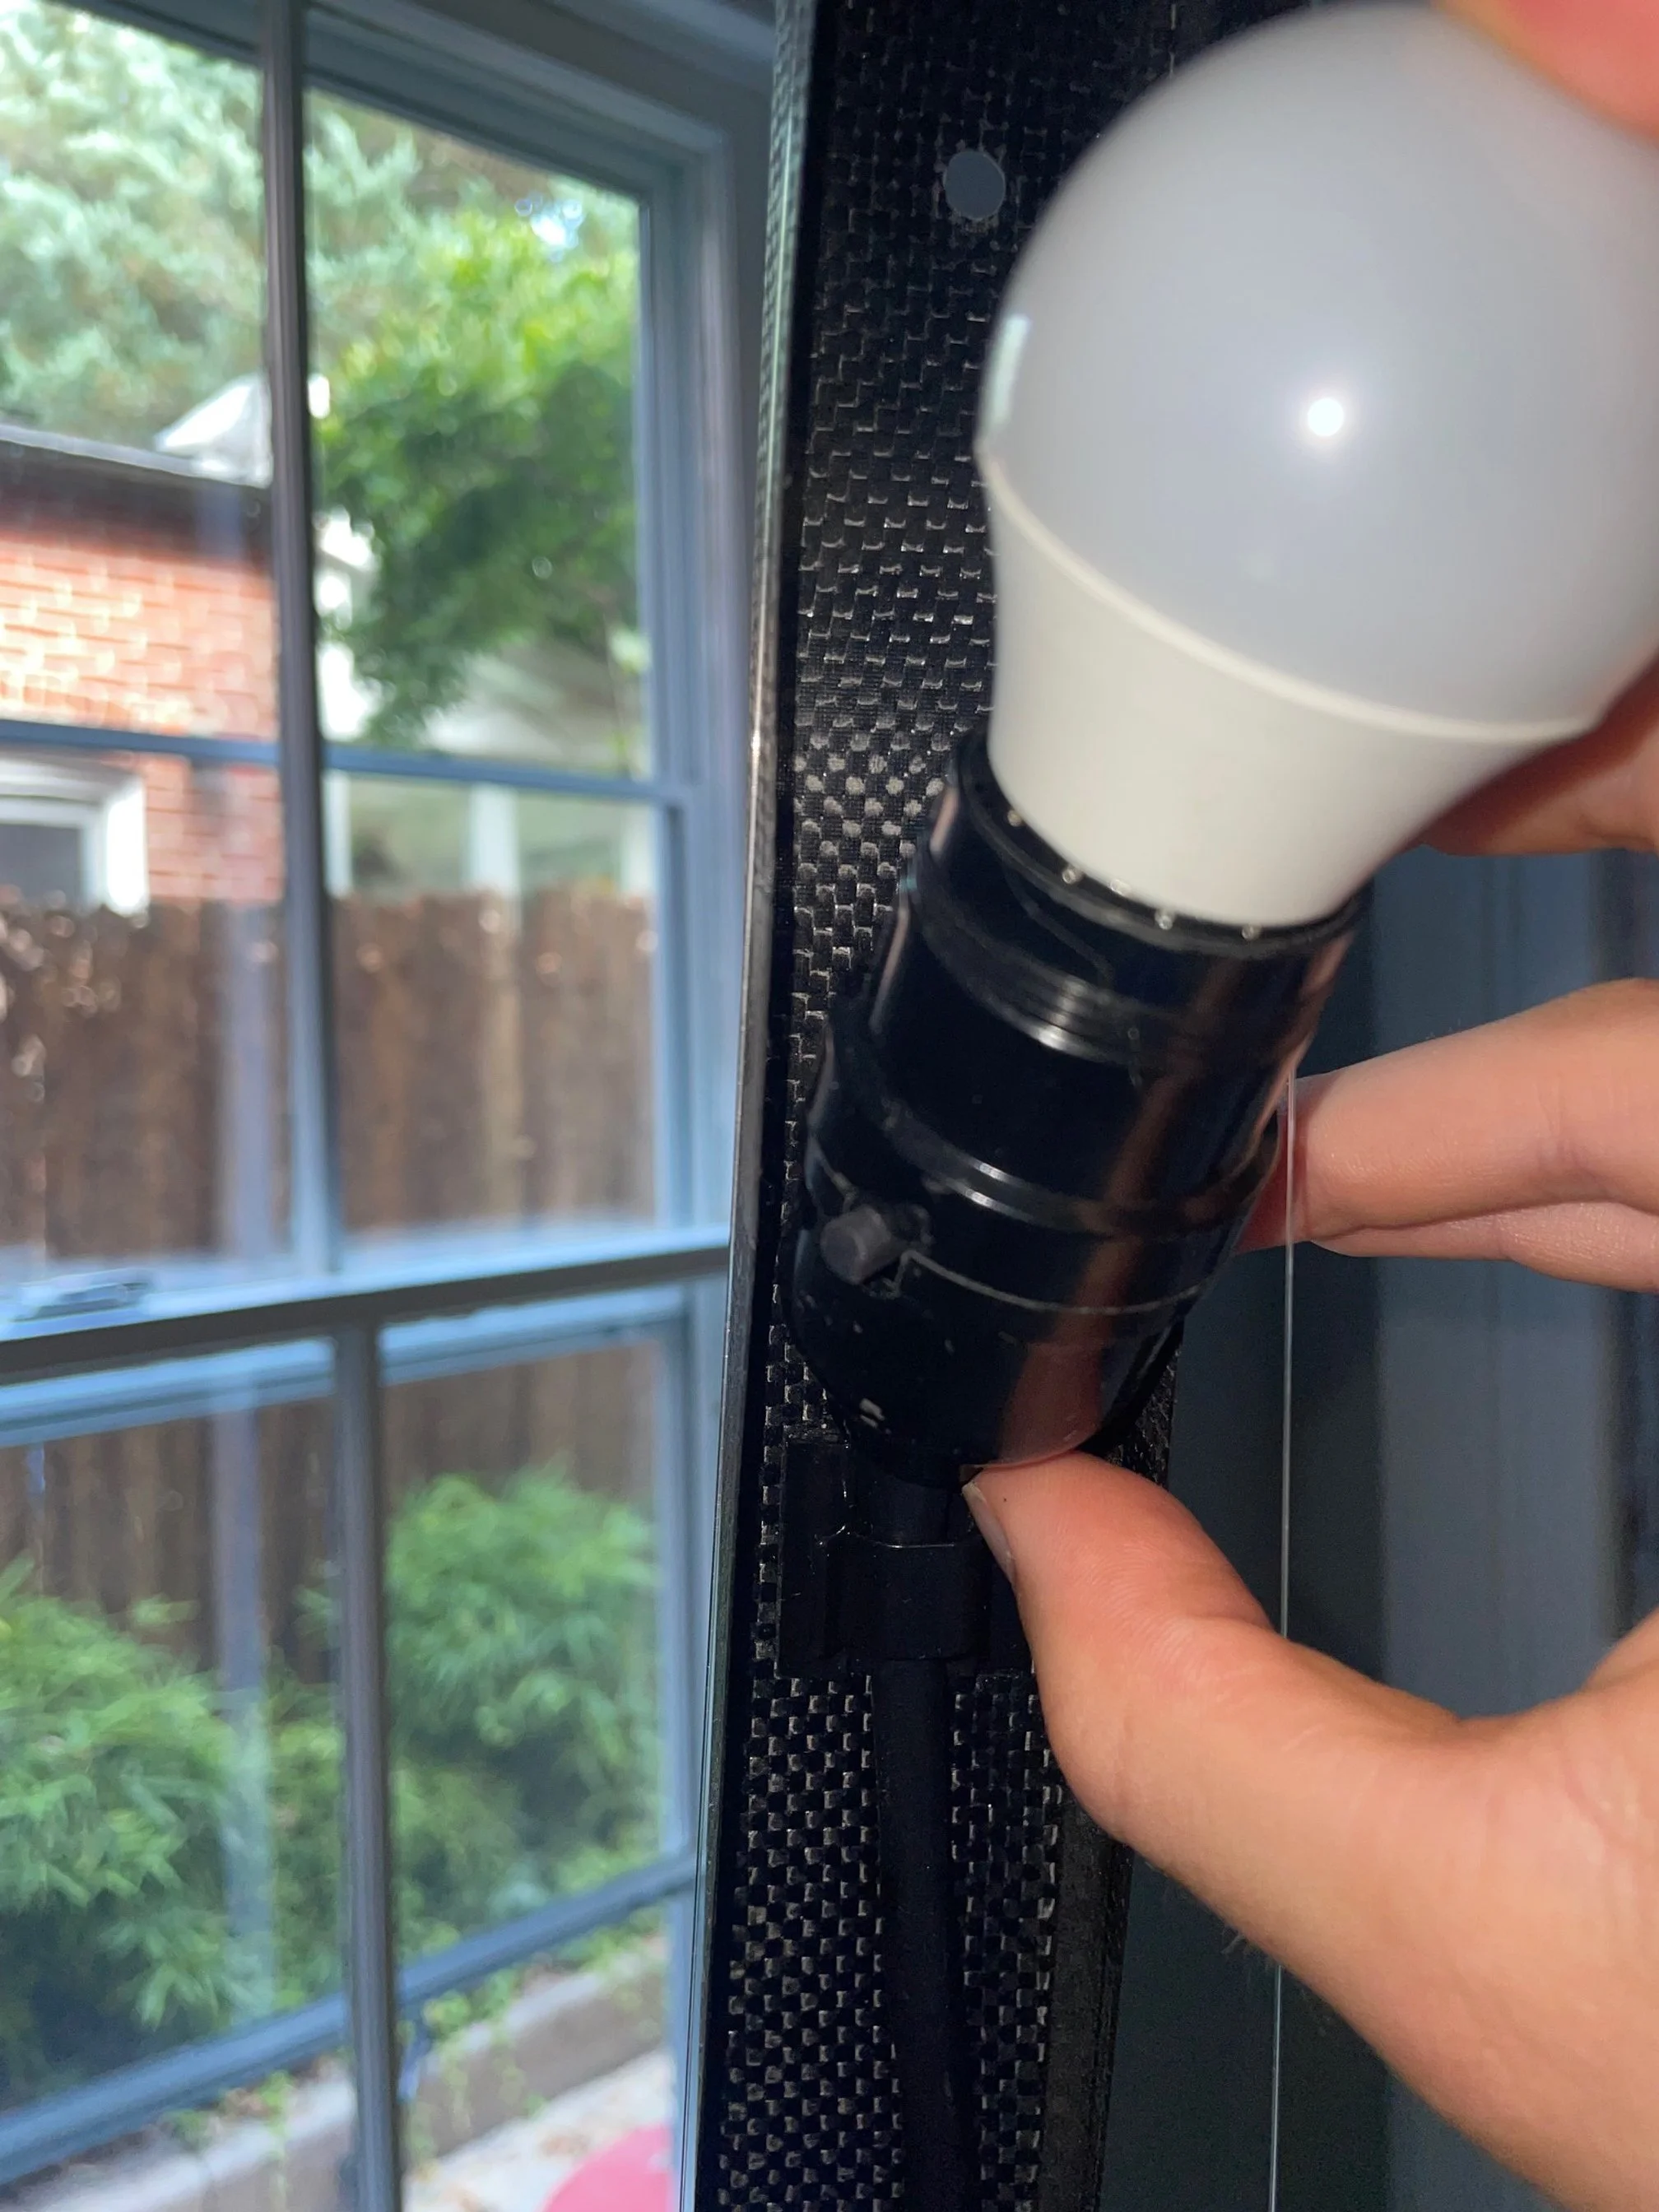
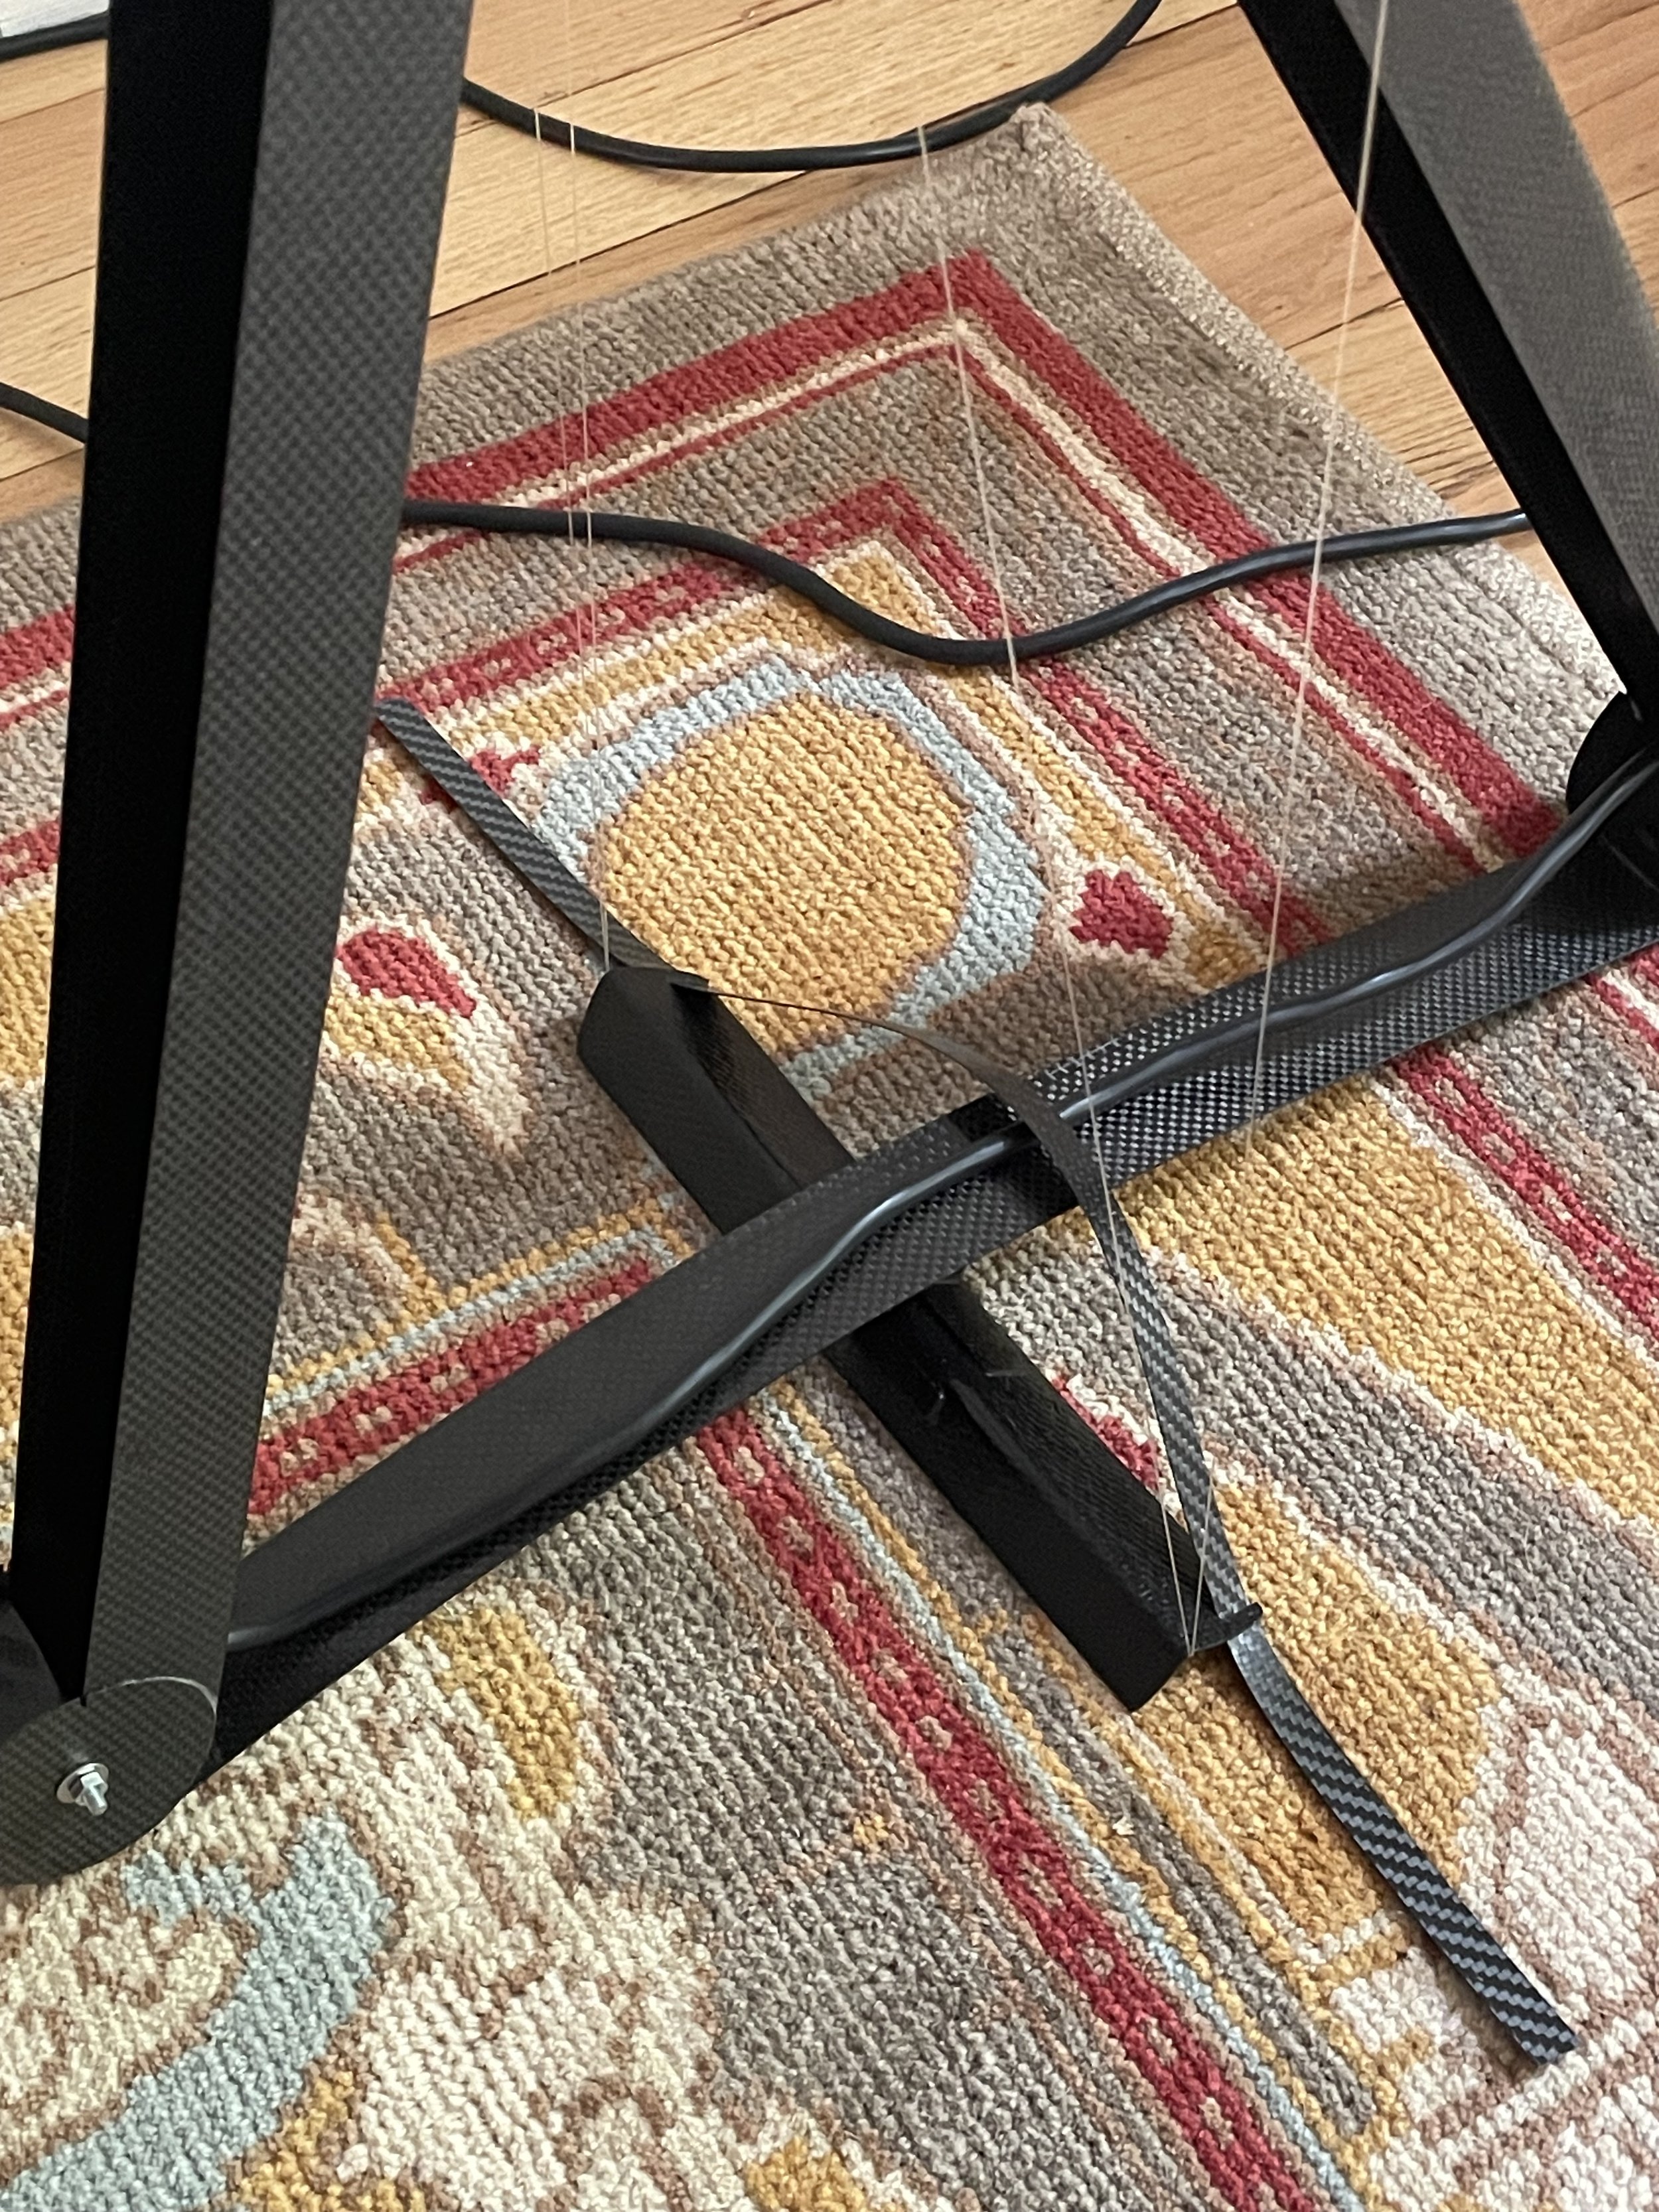
The rest of the photos are details, exhibiting the user-centricity and fine margins. Below bottom row: a simple light socket is used and it pops in and out of the spine easily. This required precision and reinforcement to get it to fit tightly, but the end result is supremely simple and easy to use.


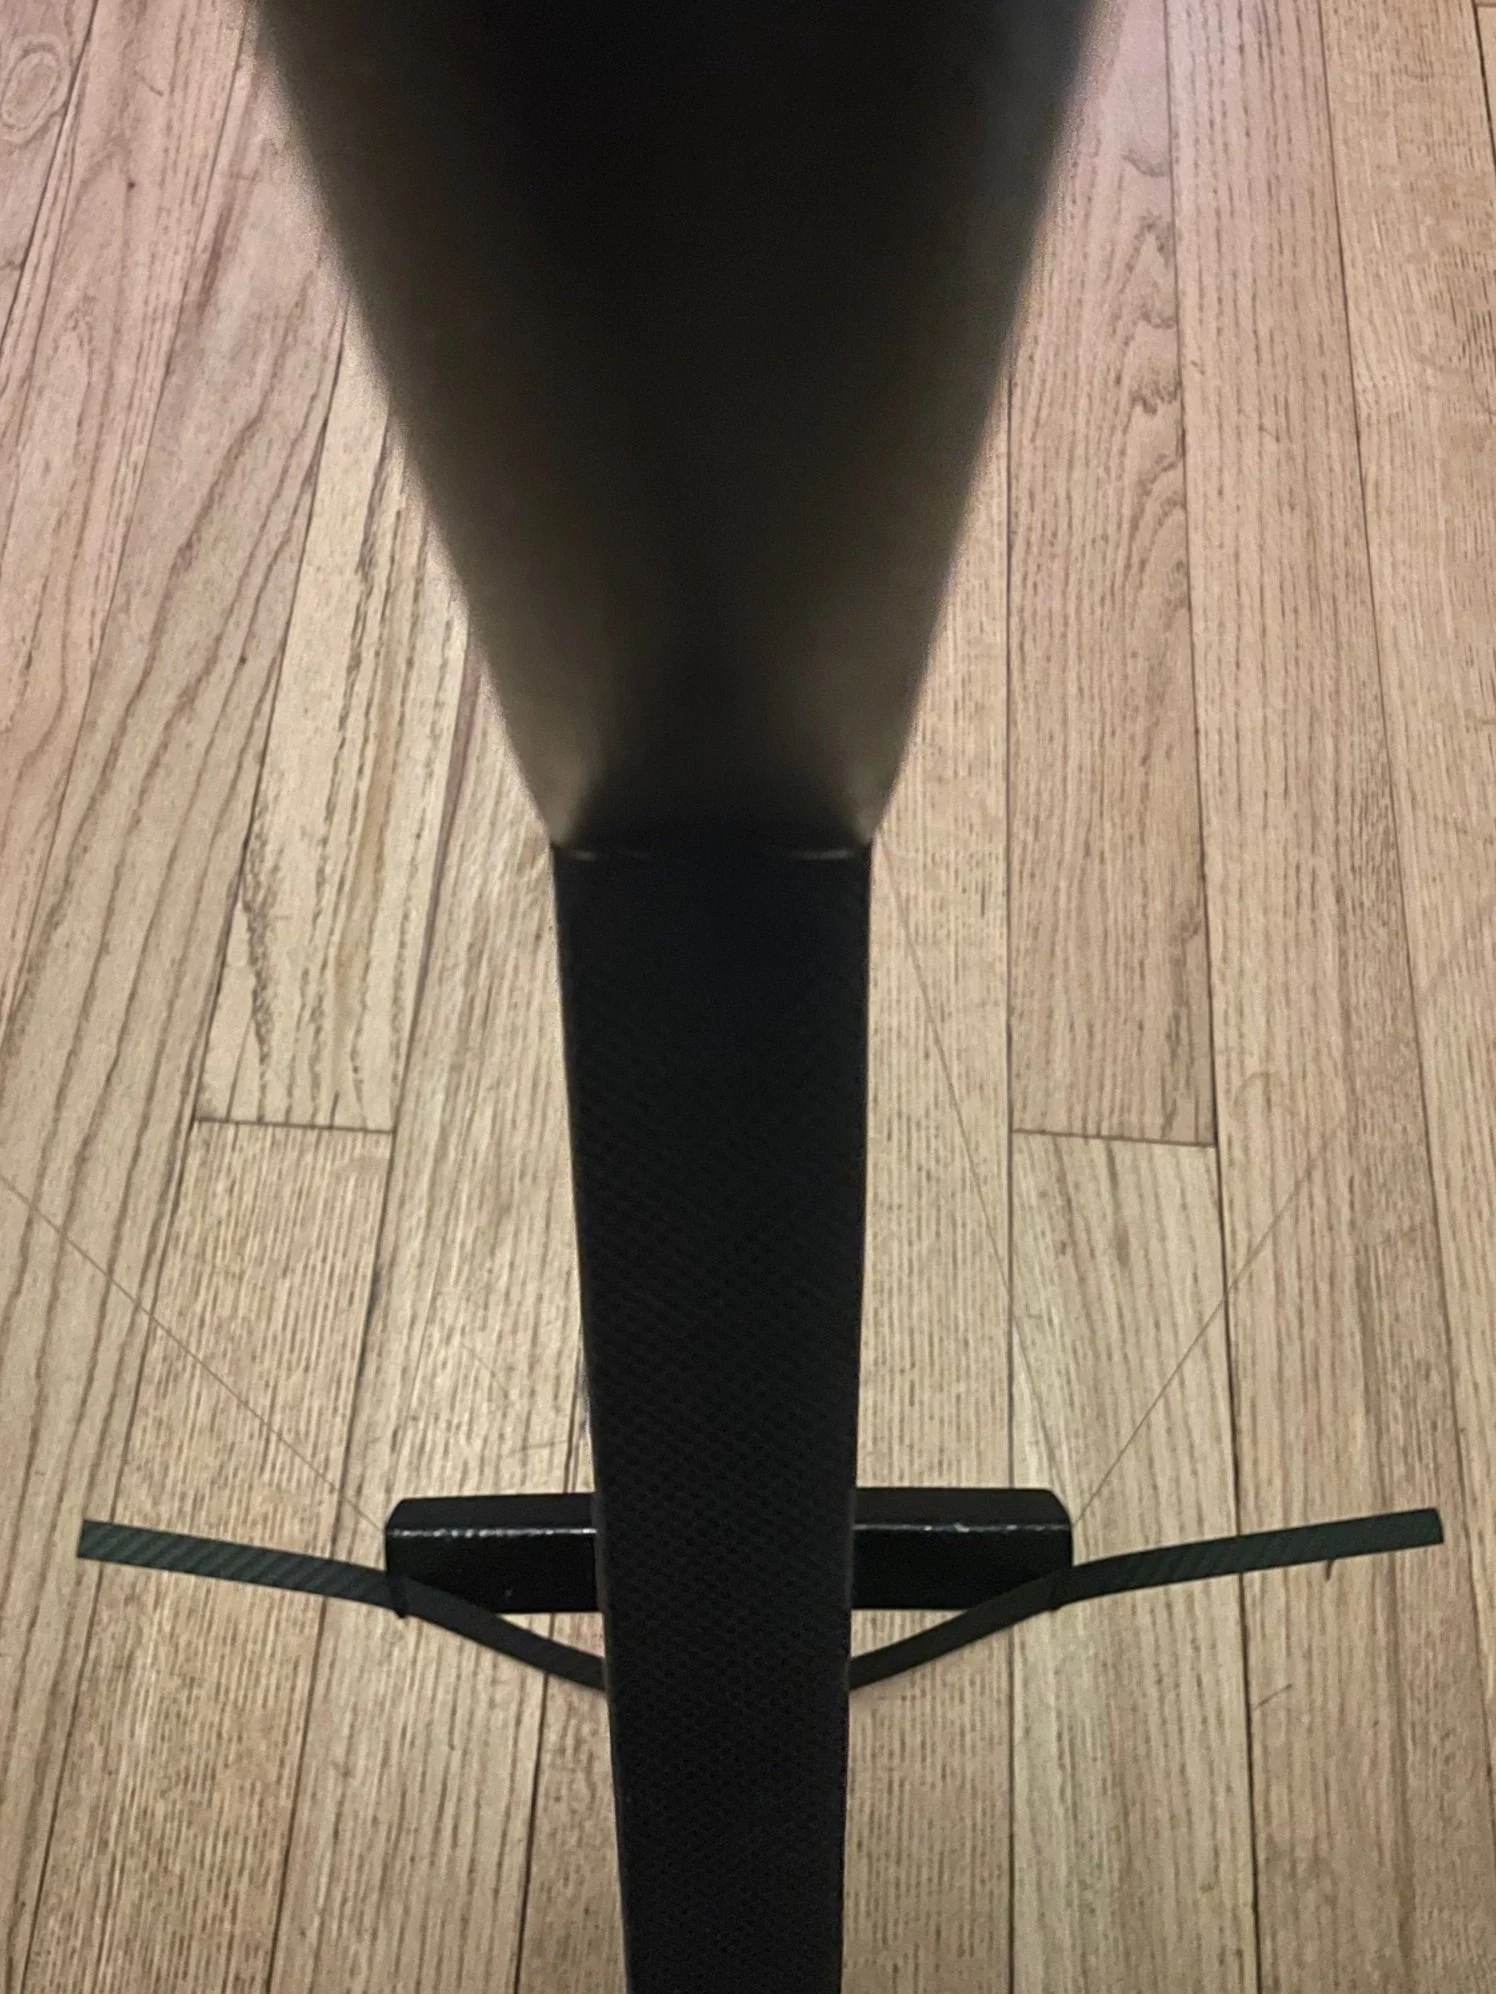
I have added lower stays, that connect the calf to the hip, doing away with the need for bolts at the hip. The lower stays and removed weight aloft both increase the stability drastically.
The new lower stays also increase the bending moment through the spine, as the lower and upper stays pull in opposite directions horizontally. This amplifies the beautiful buckling wave effect.


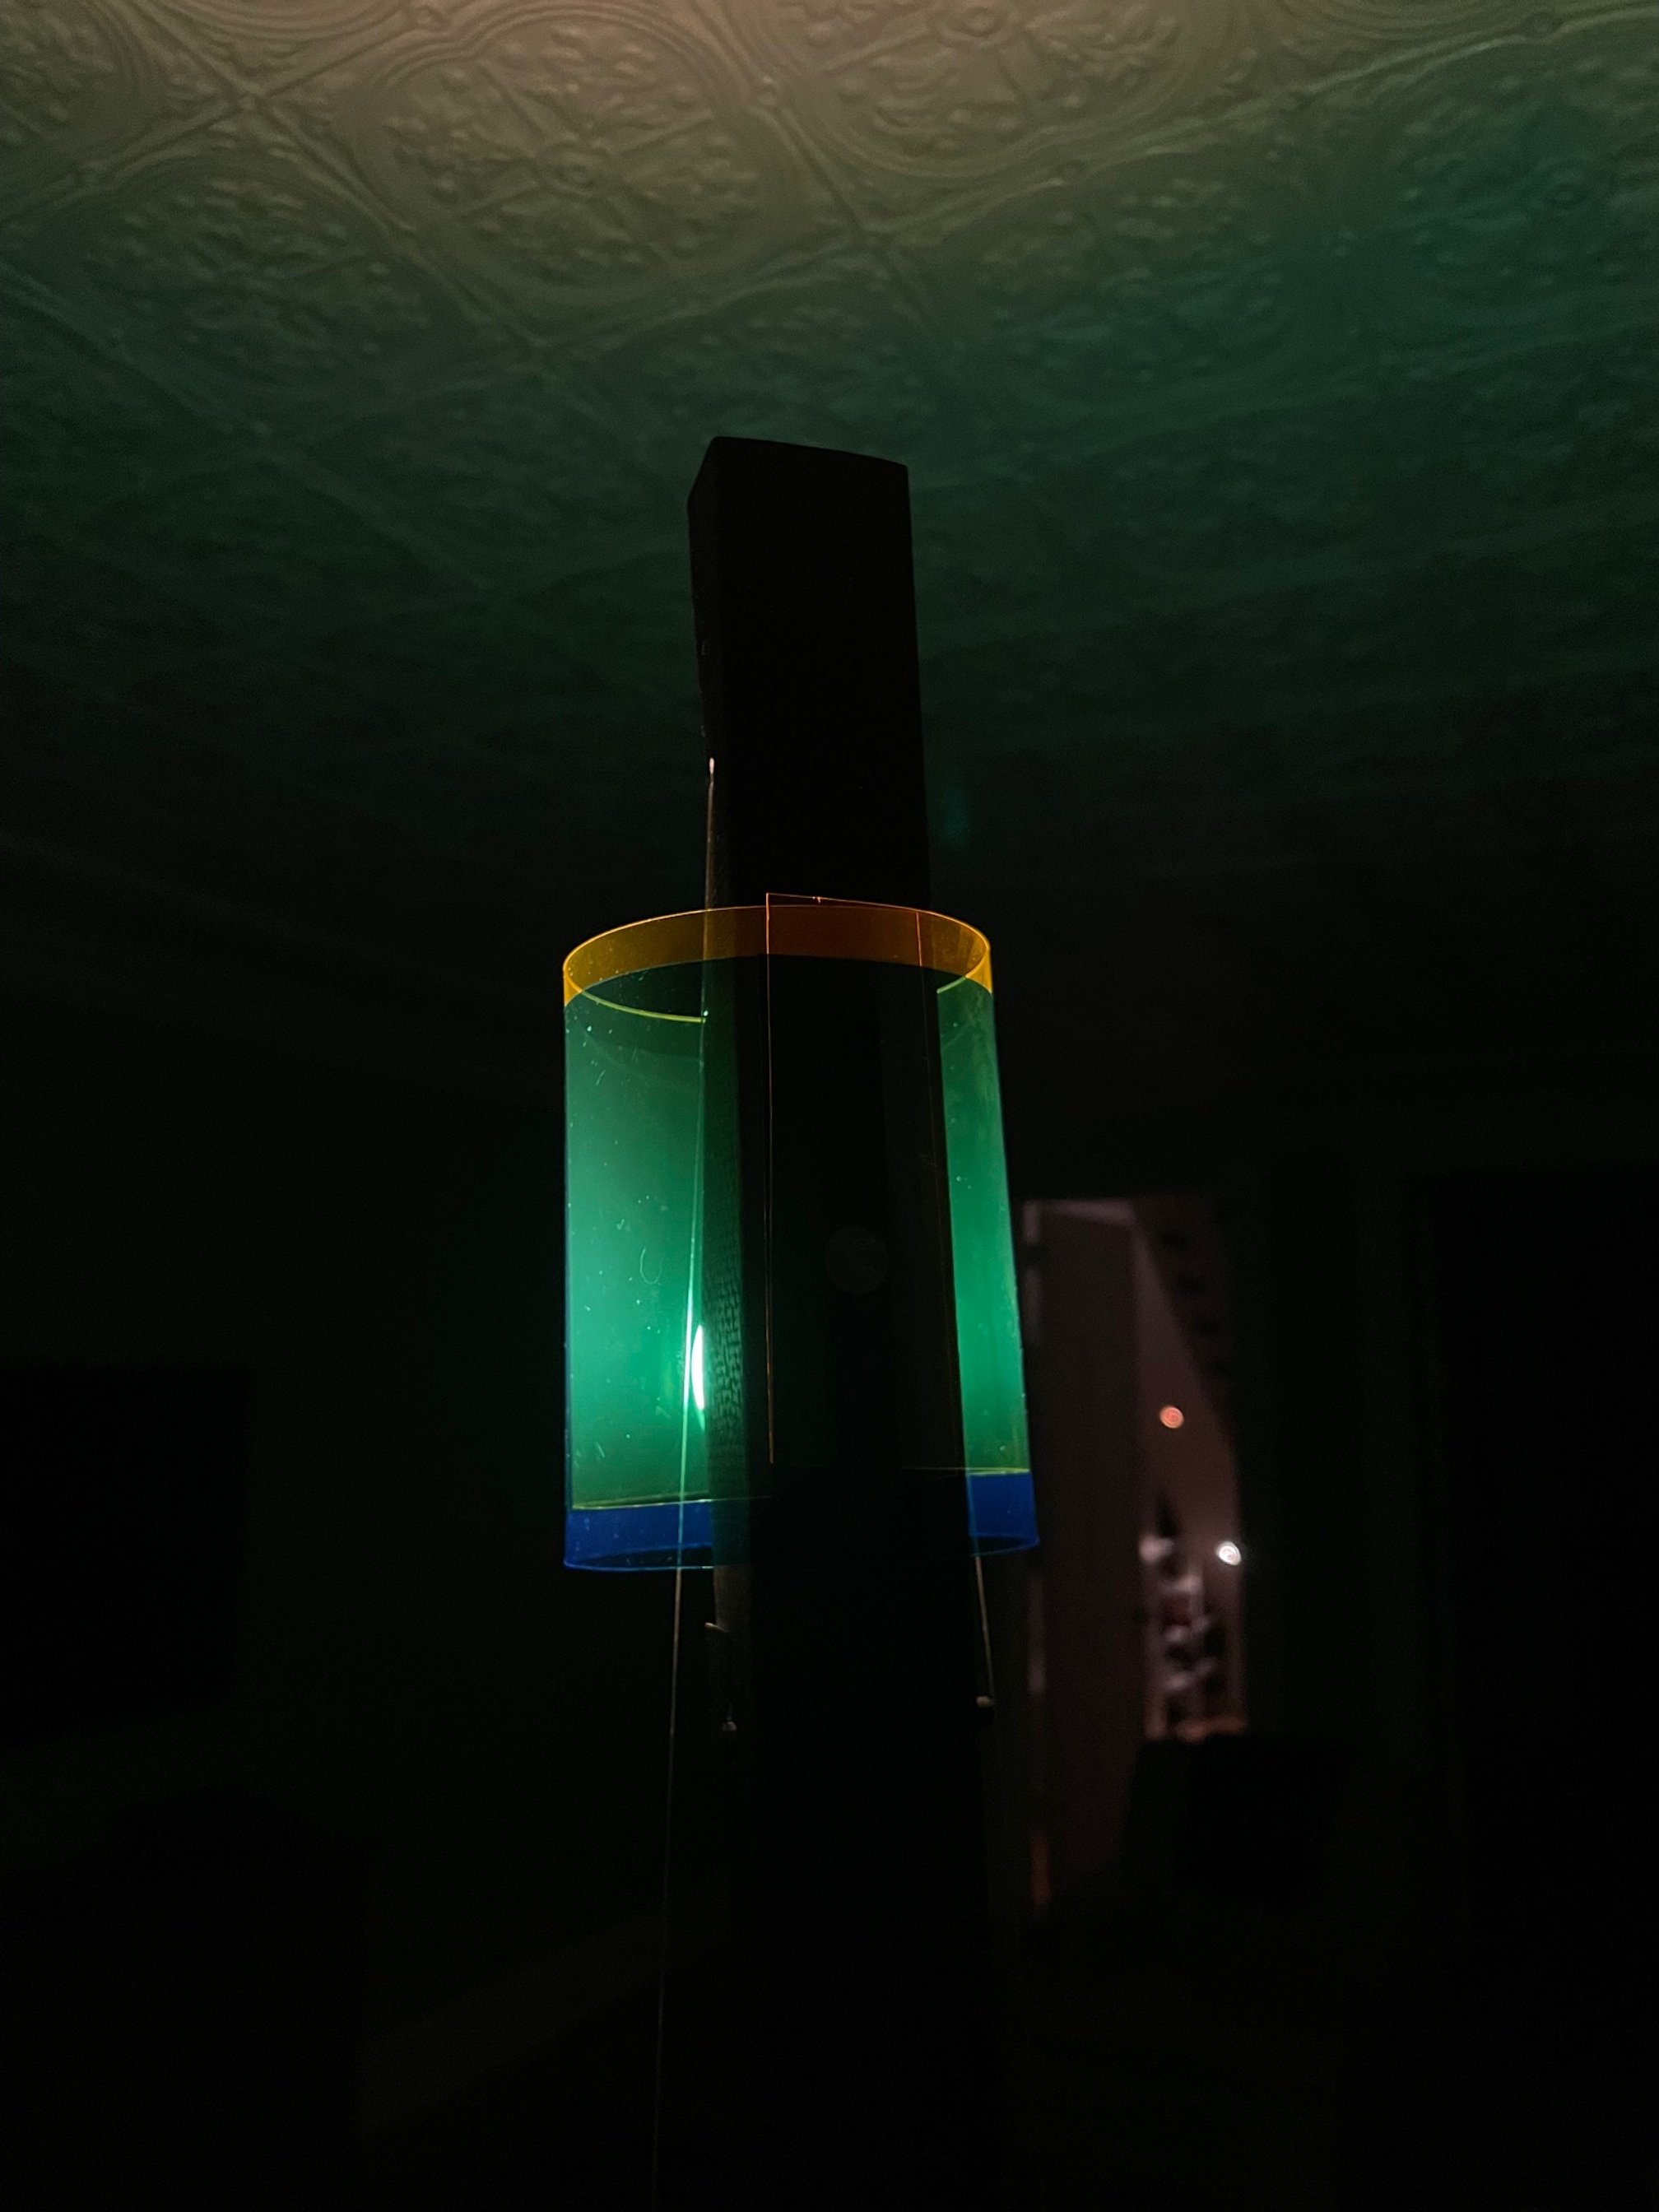
Final Iteration
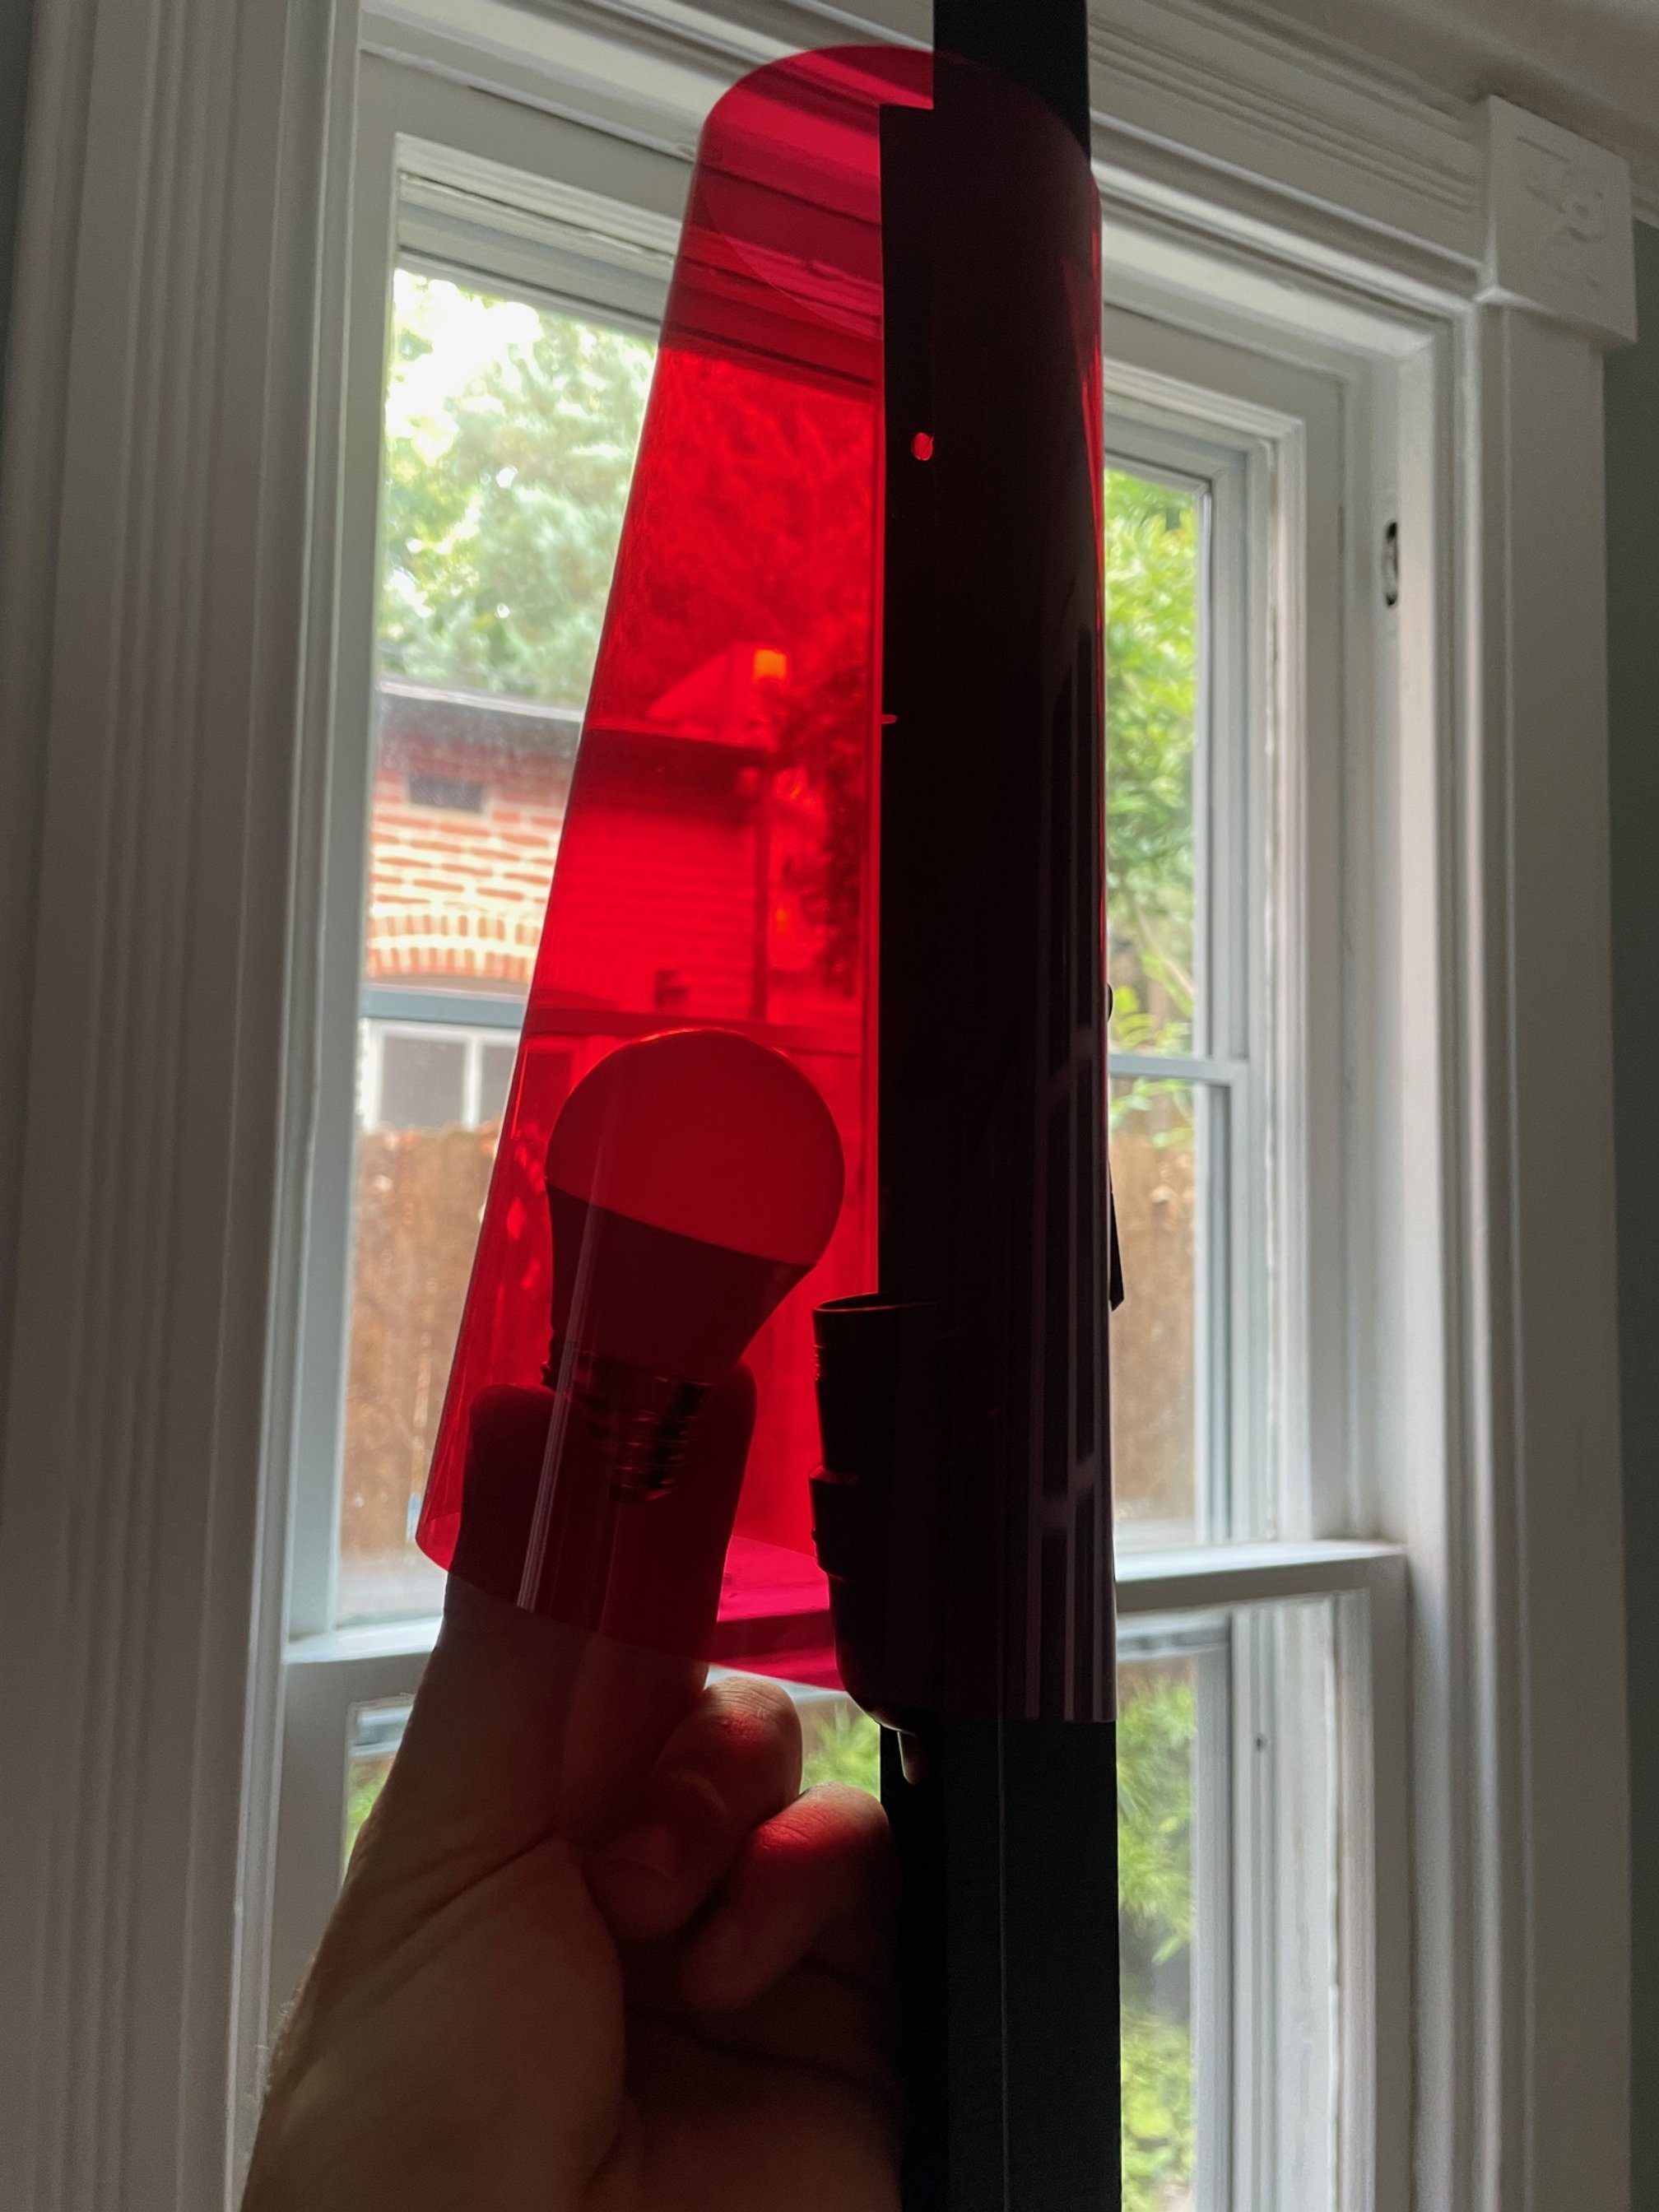
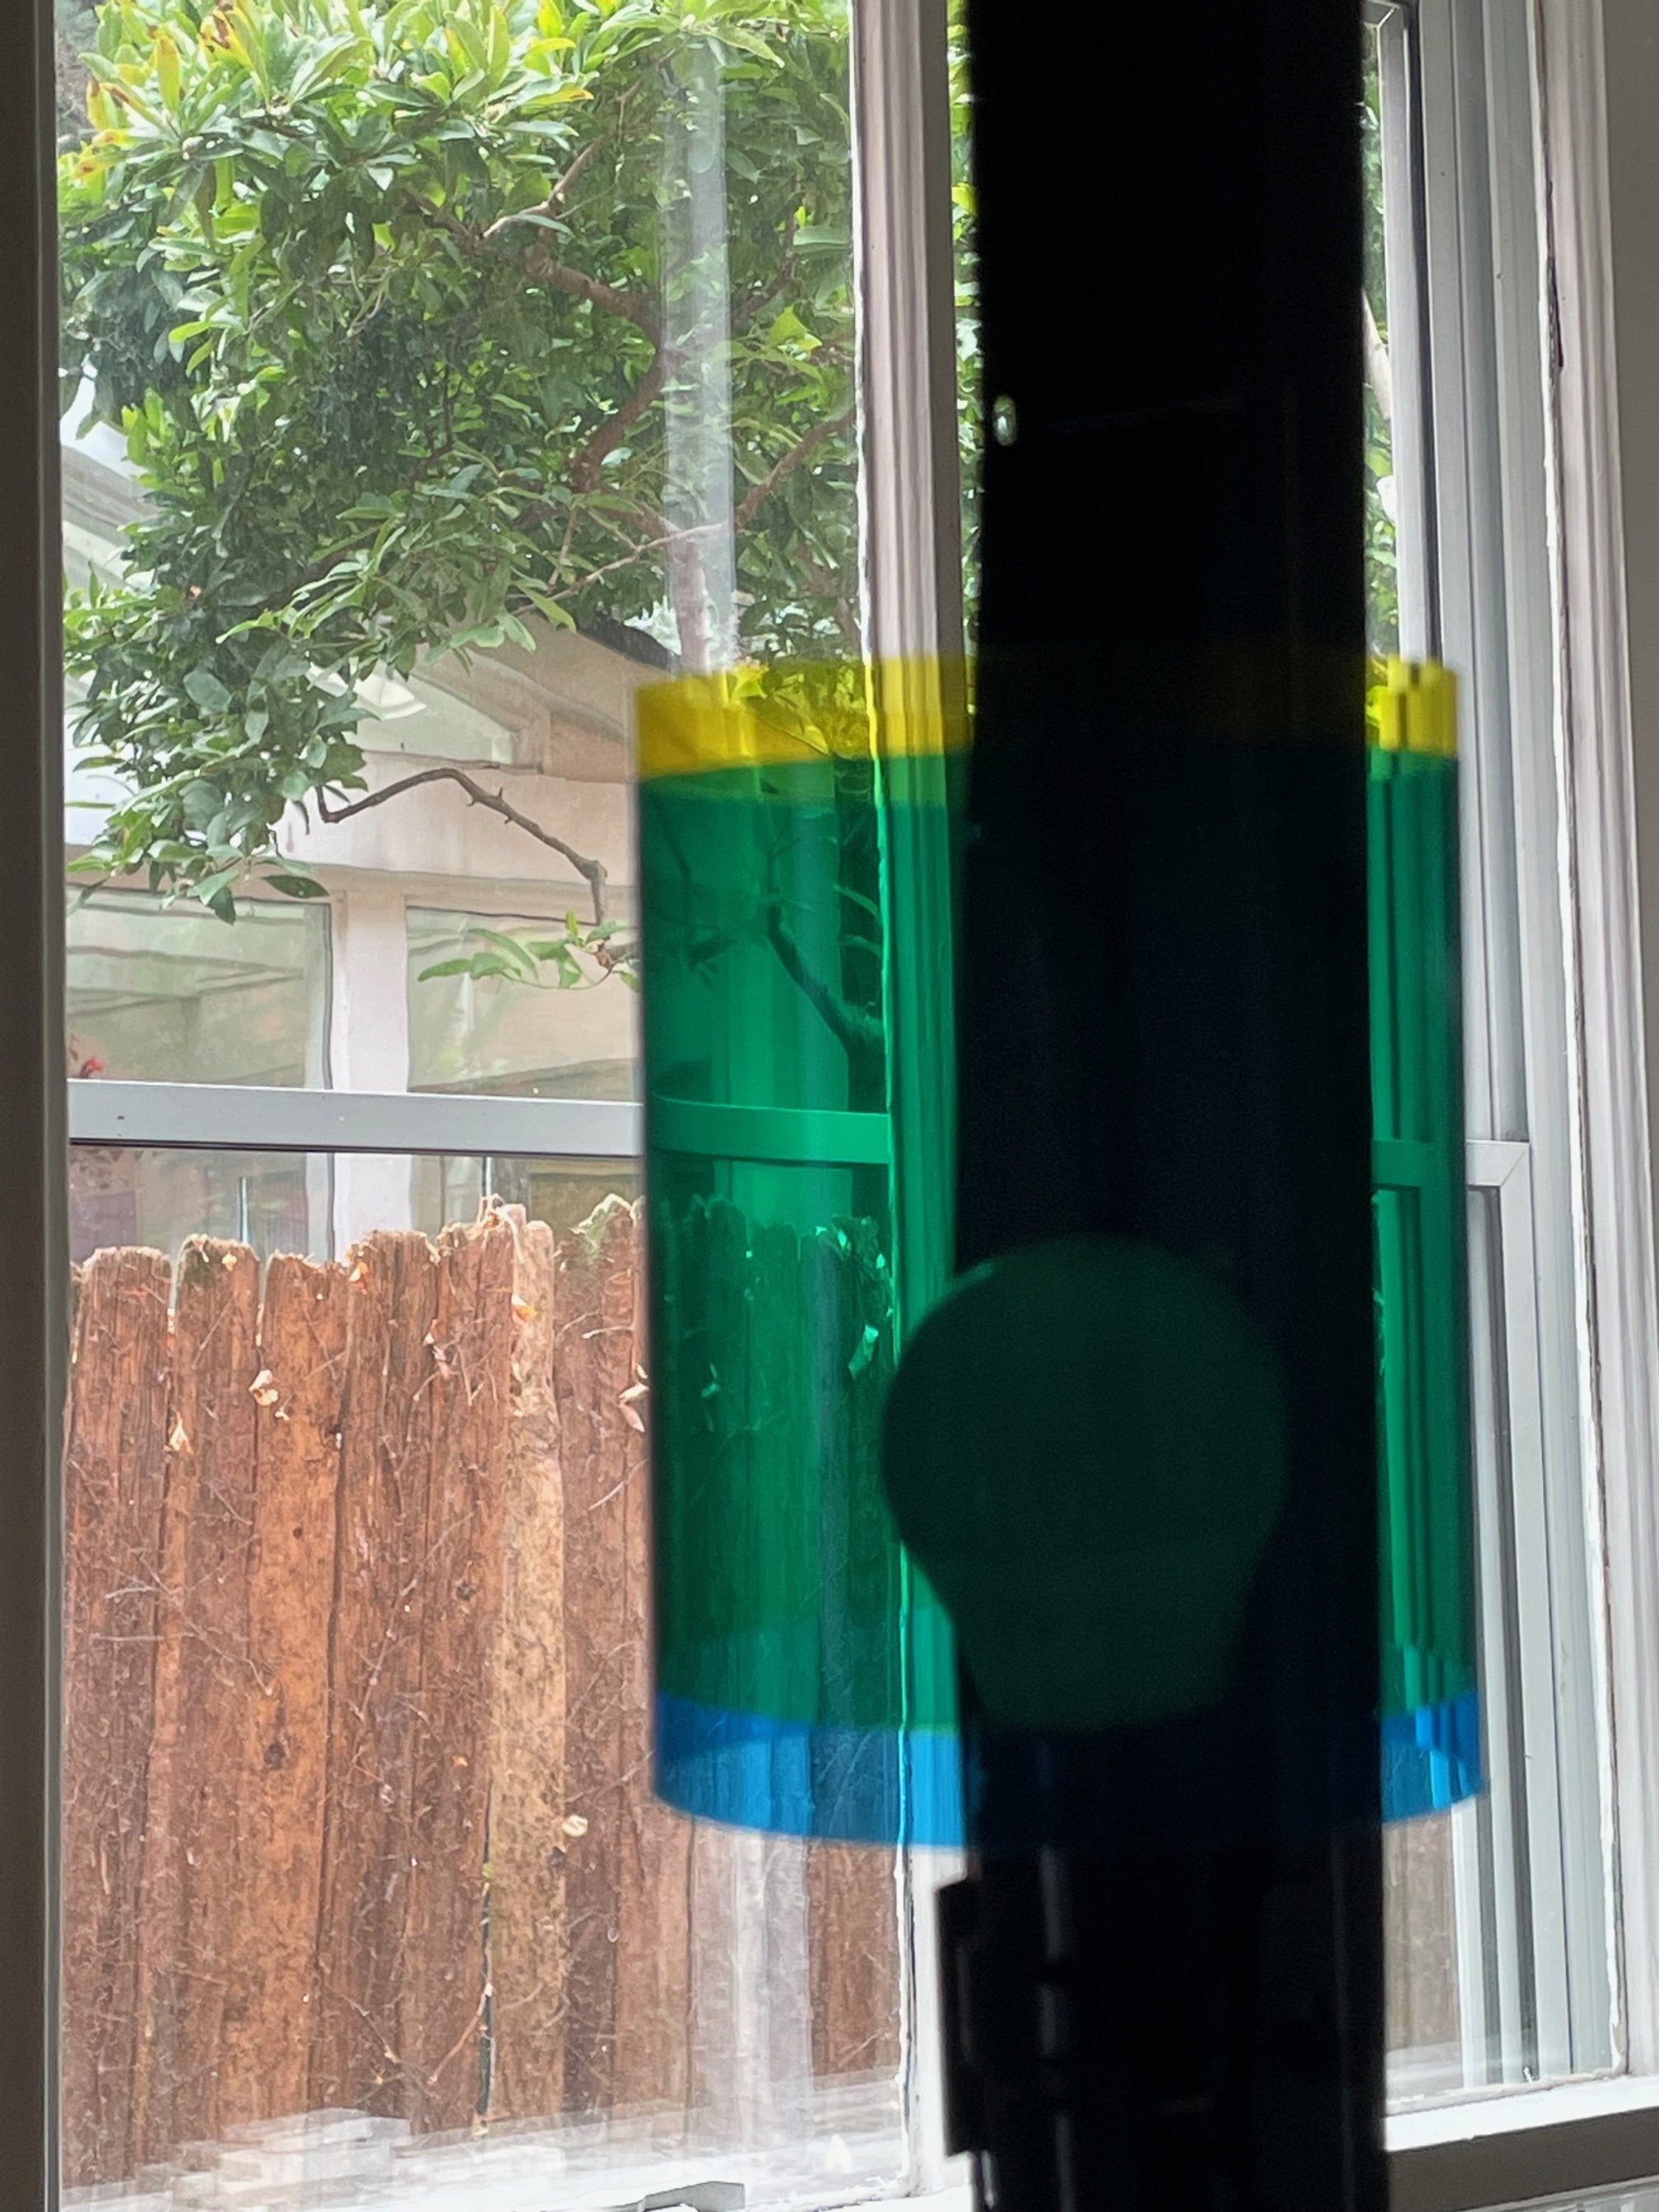
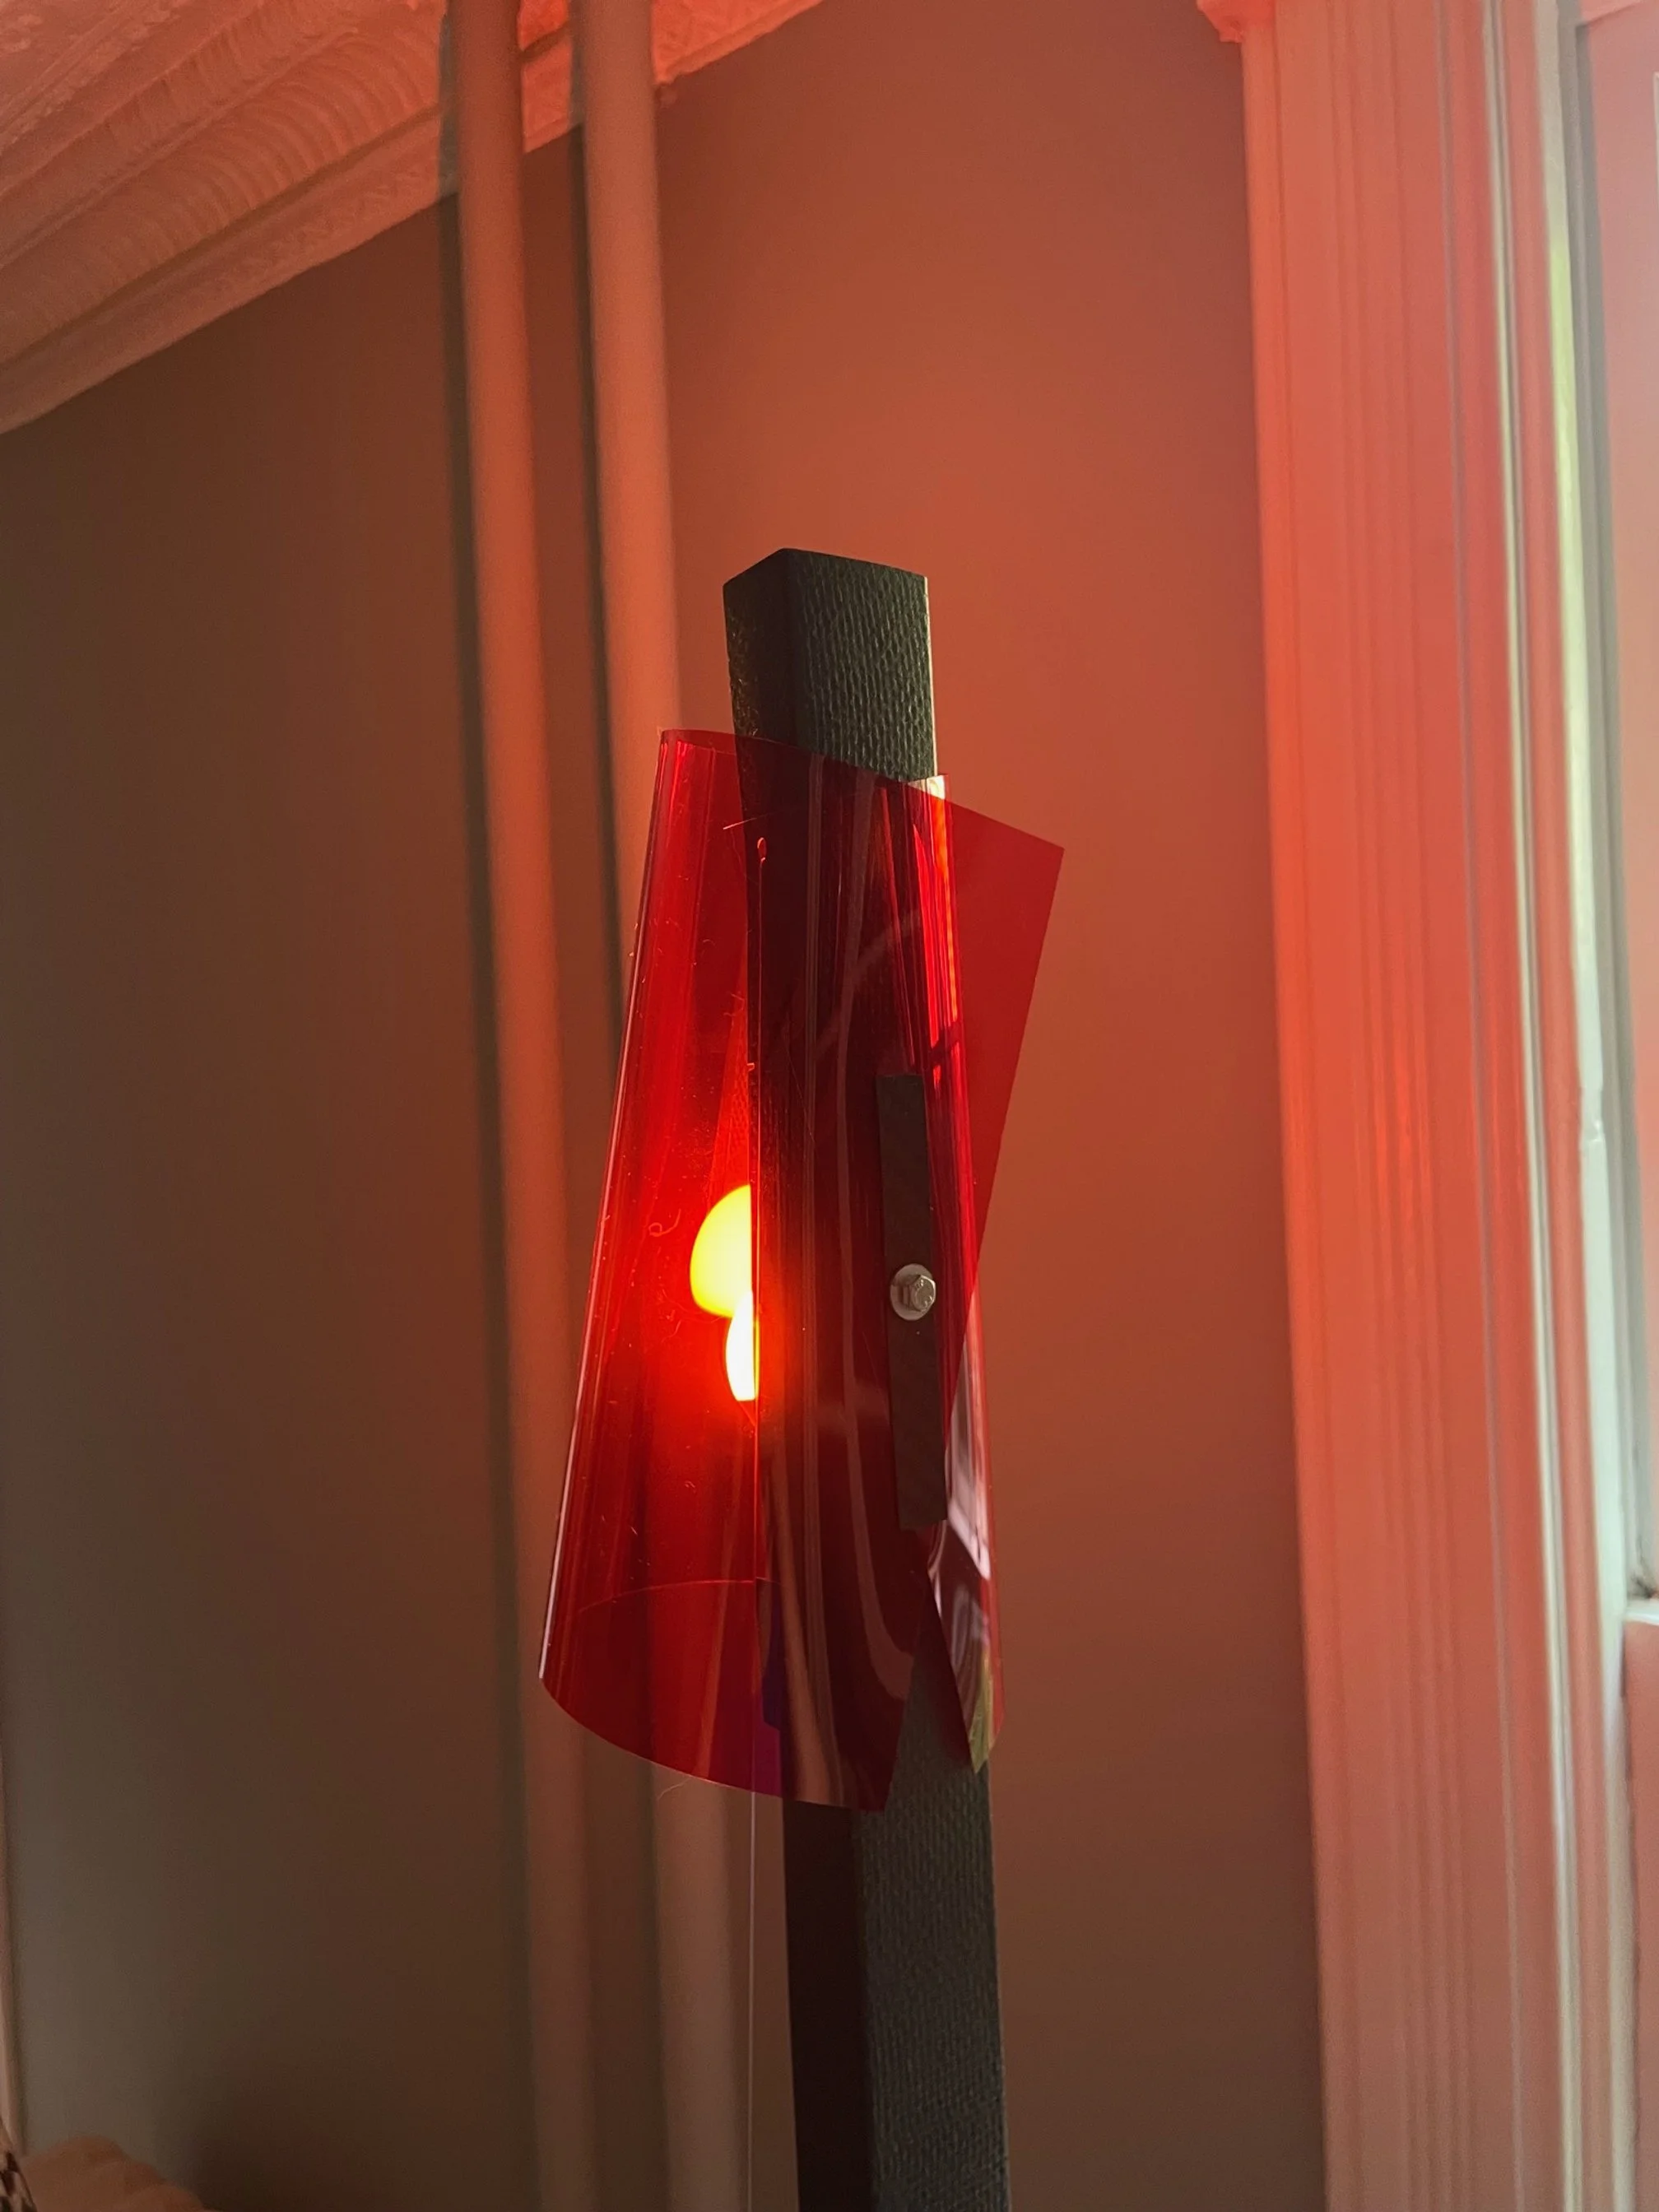
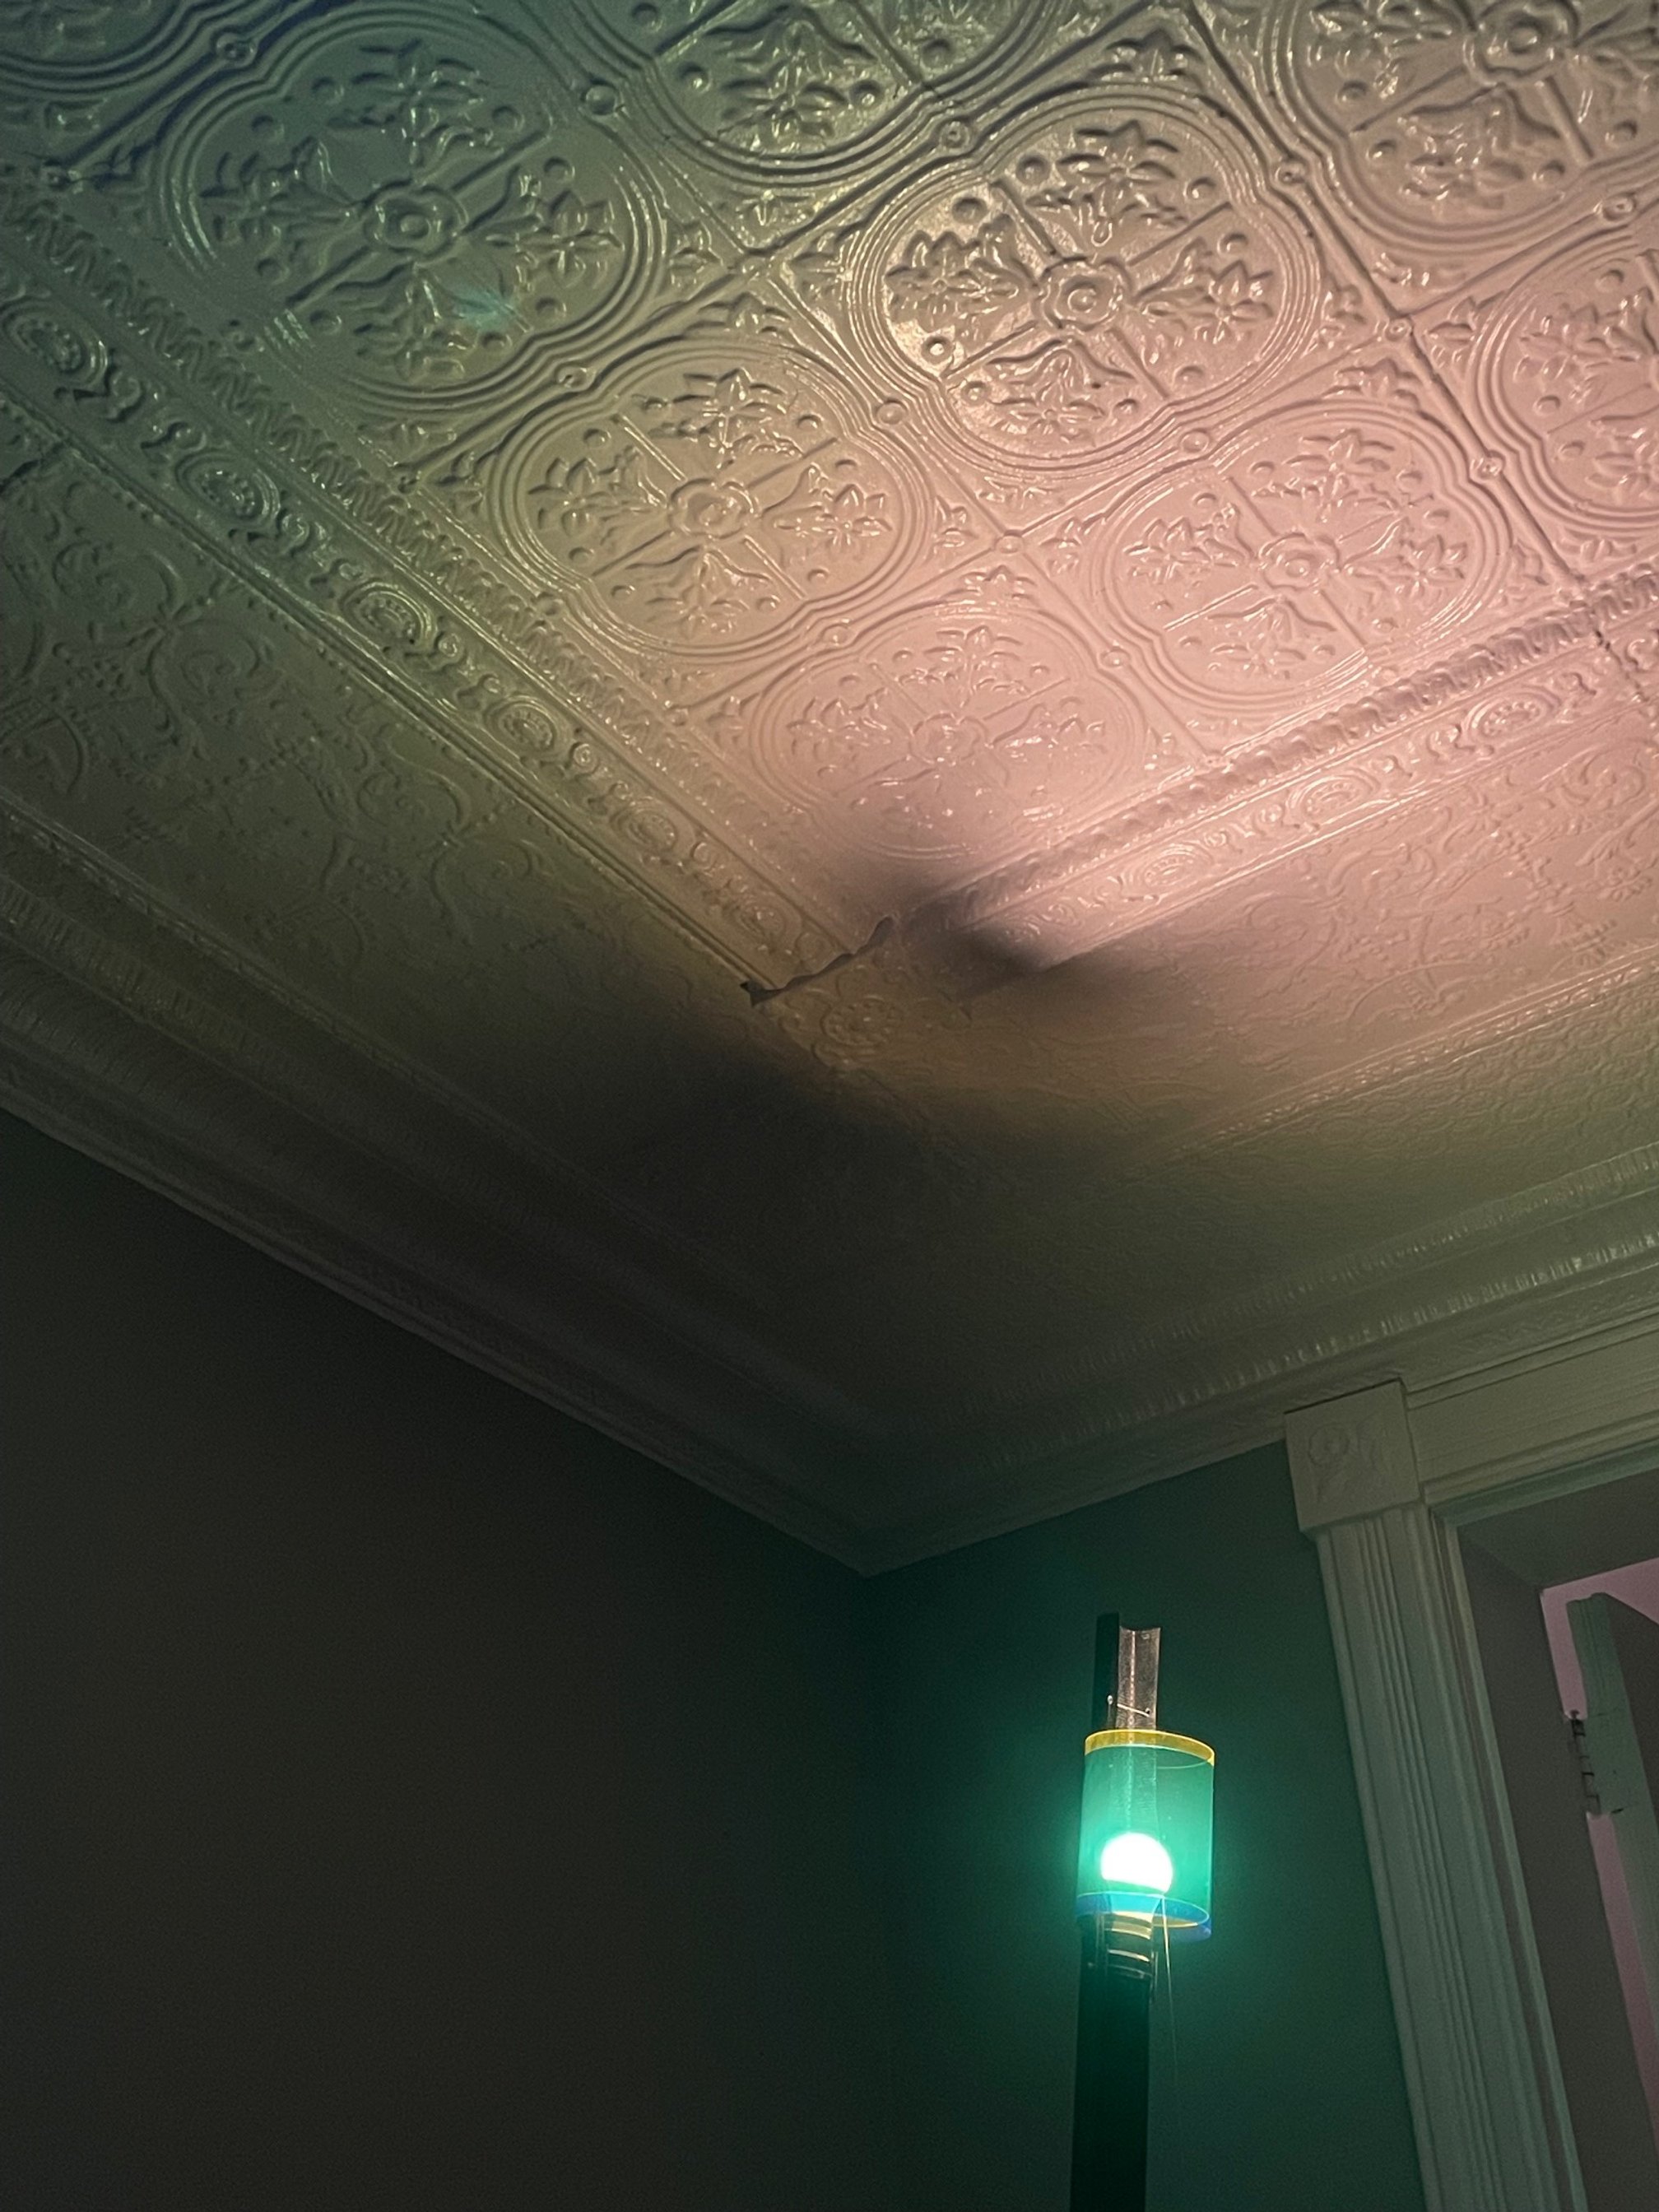
I’ve purchased some theater lighting gels that create a colored shade. This also allows for more customization - the lighting gels are easily interchangeable. I’m satisfied with this iteration, and now I am going to endeavor to sell the lamp.